Tạo IAM Roles để truy cập vào ECR
Cấu hình Policy
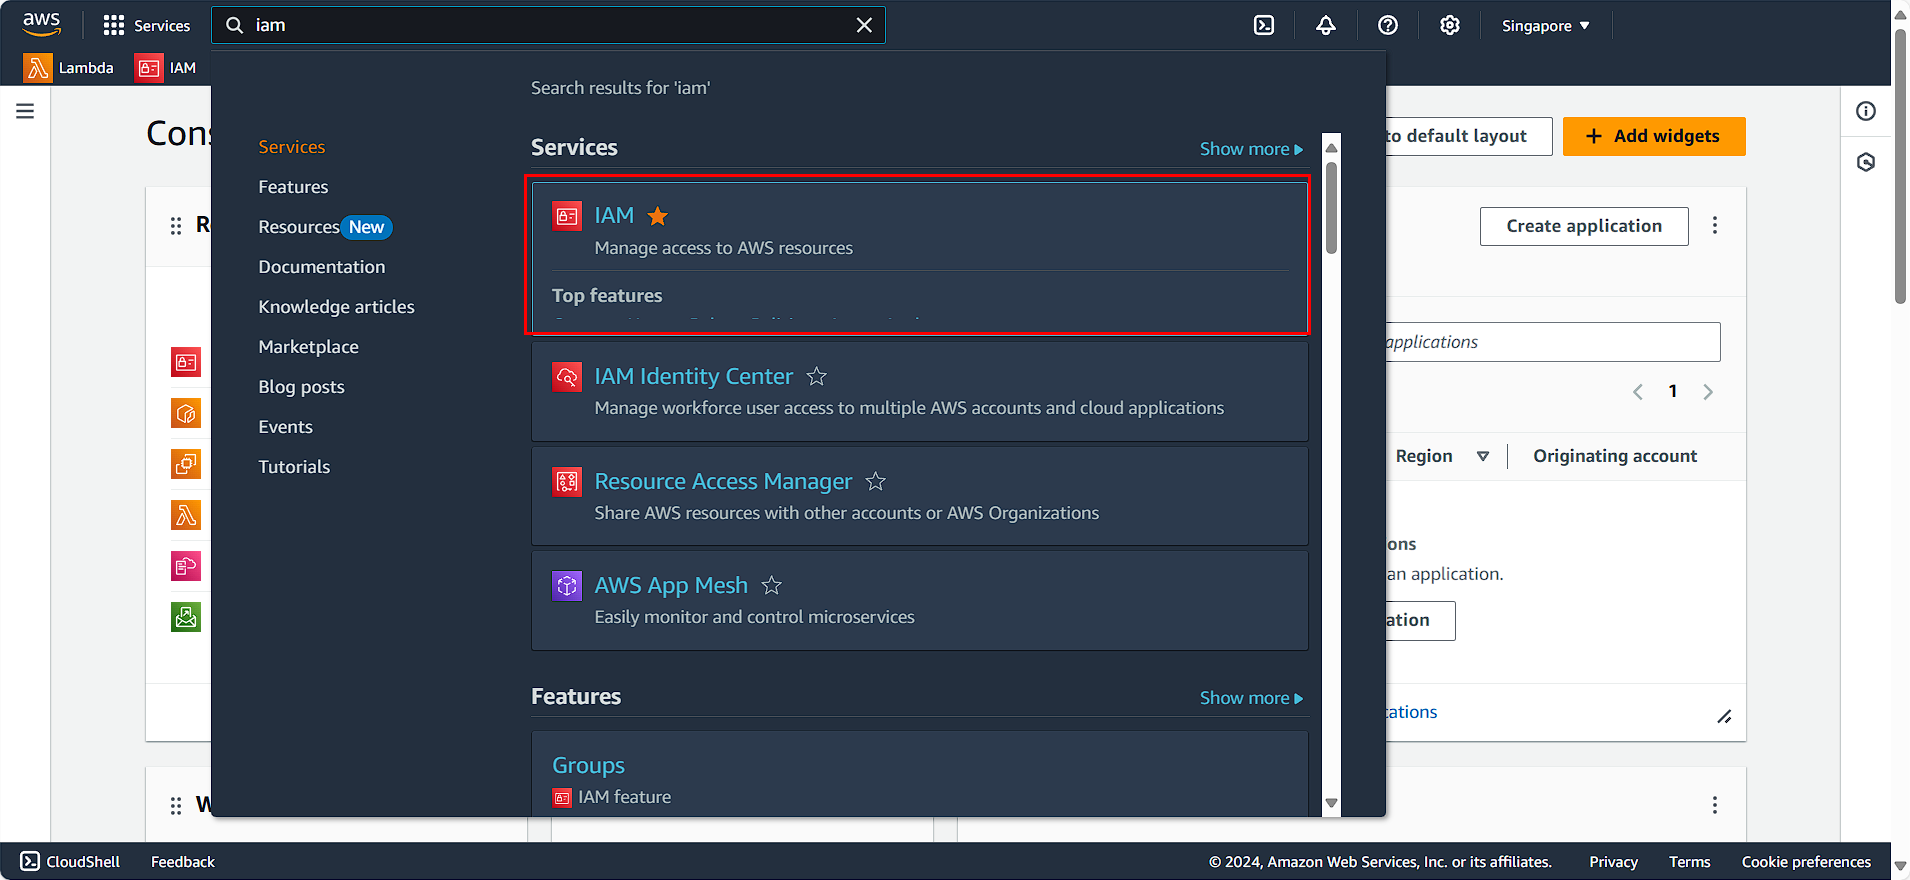
Ở giao diện AWS Console
- Chọn tìm và chọn
IAM
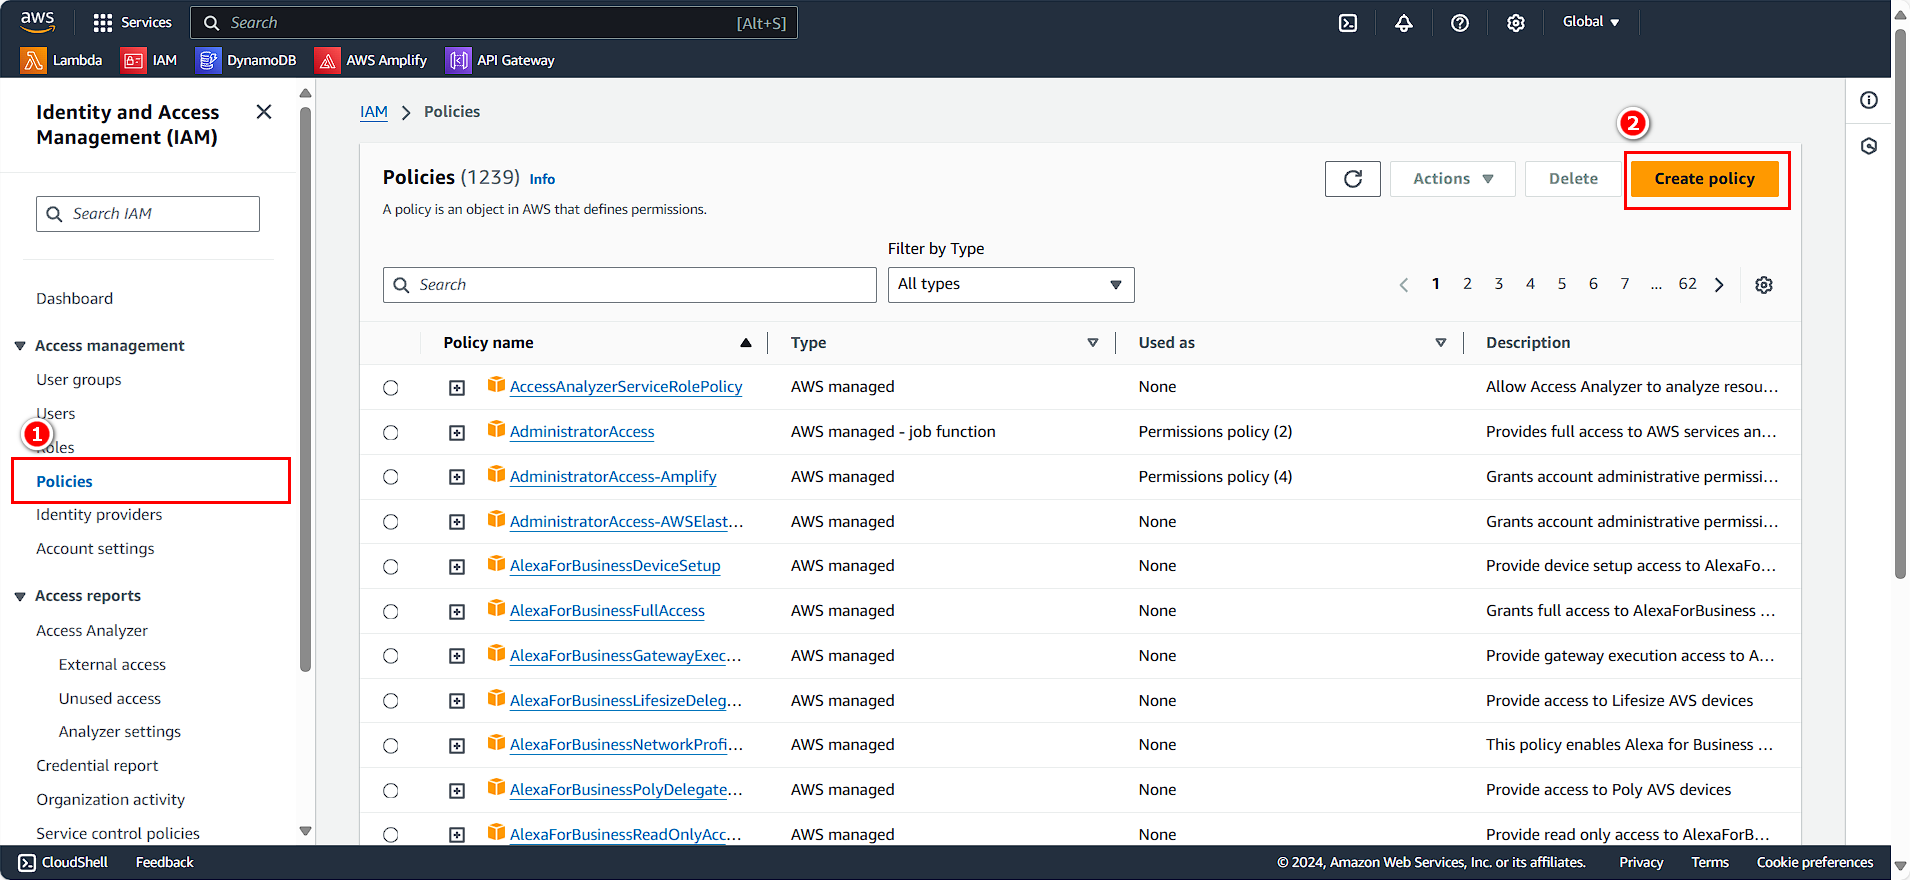
Ở mục chọn ở bên phải
- Chọn Policy
- Chọn Create Policy
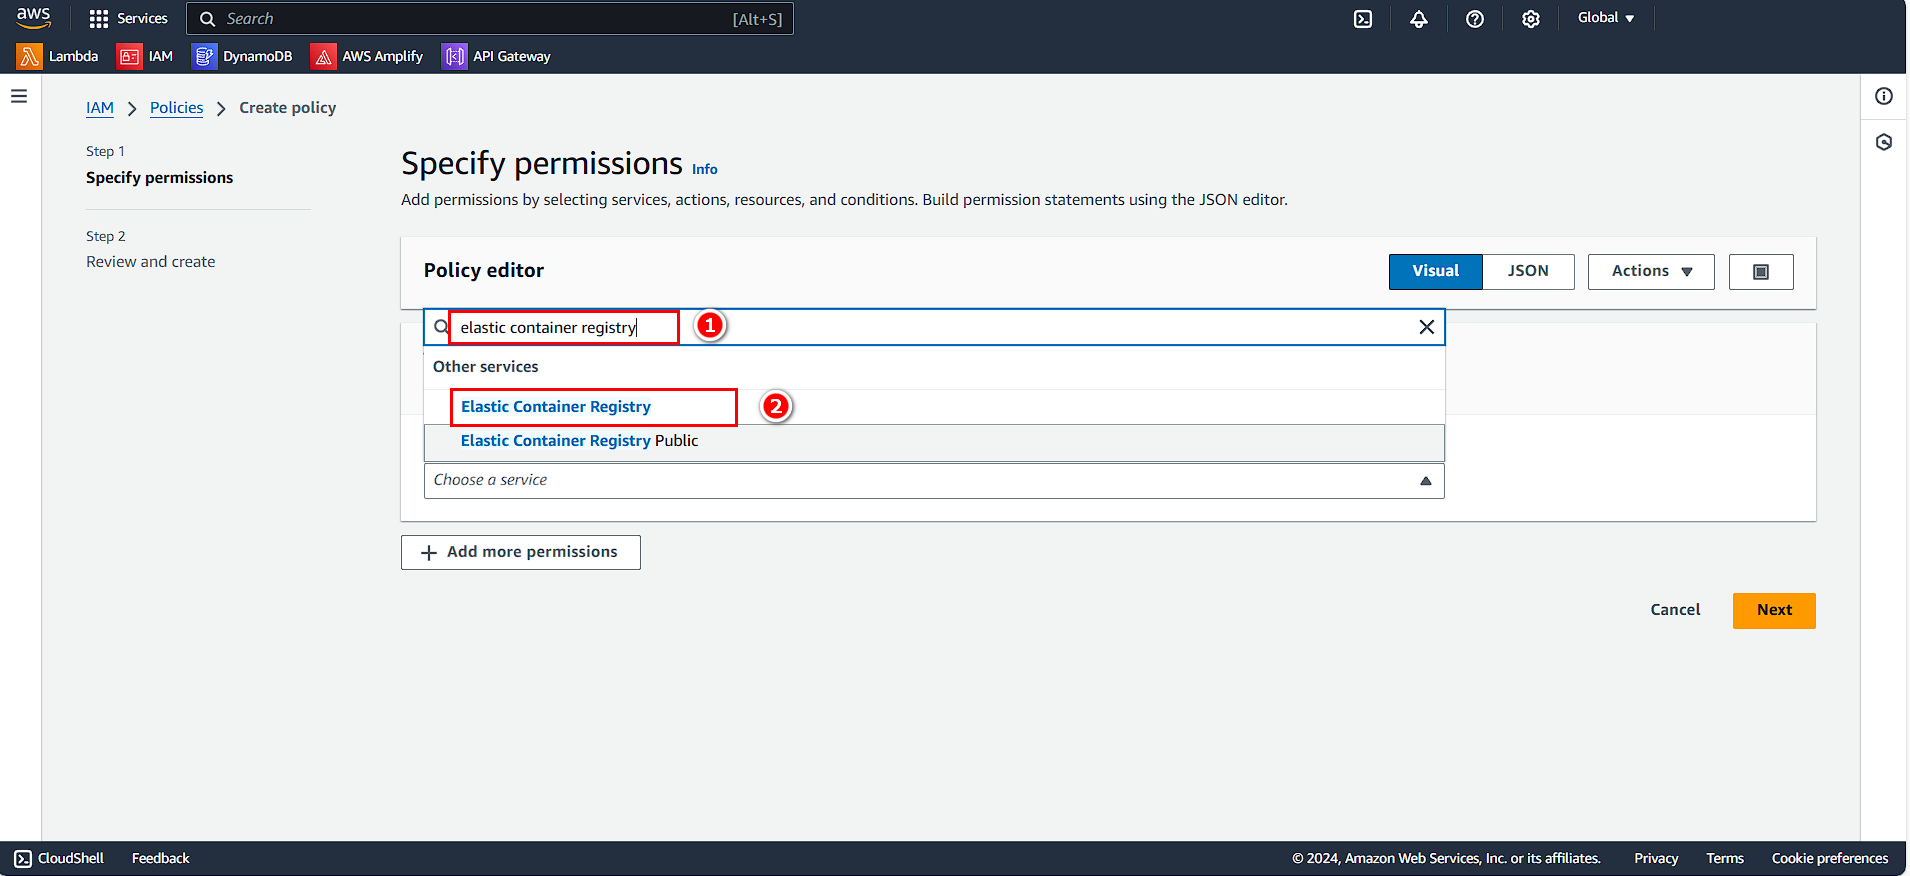
Ở phần Policy Editor
- Tìm kiếm và chọn Elastic Container Registry
- Chọn Next
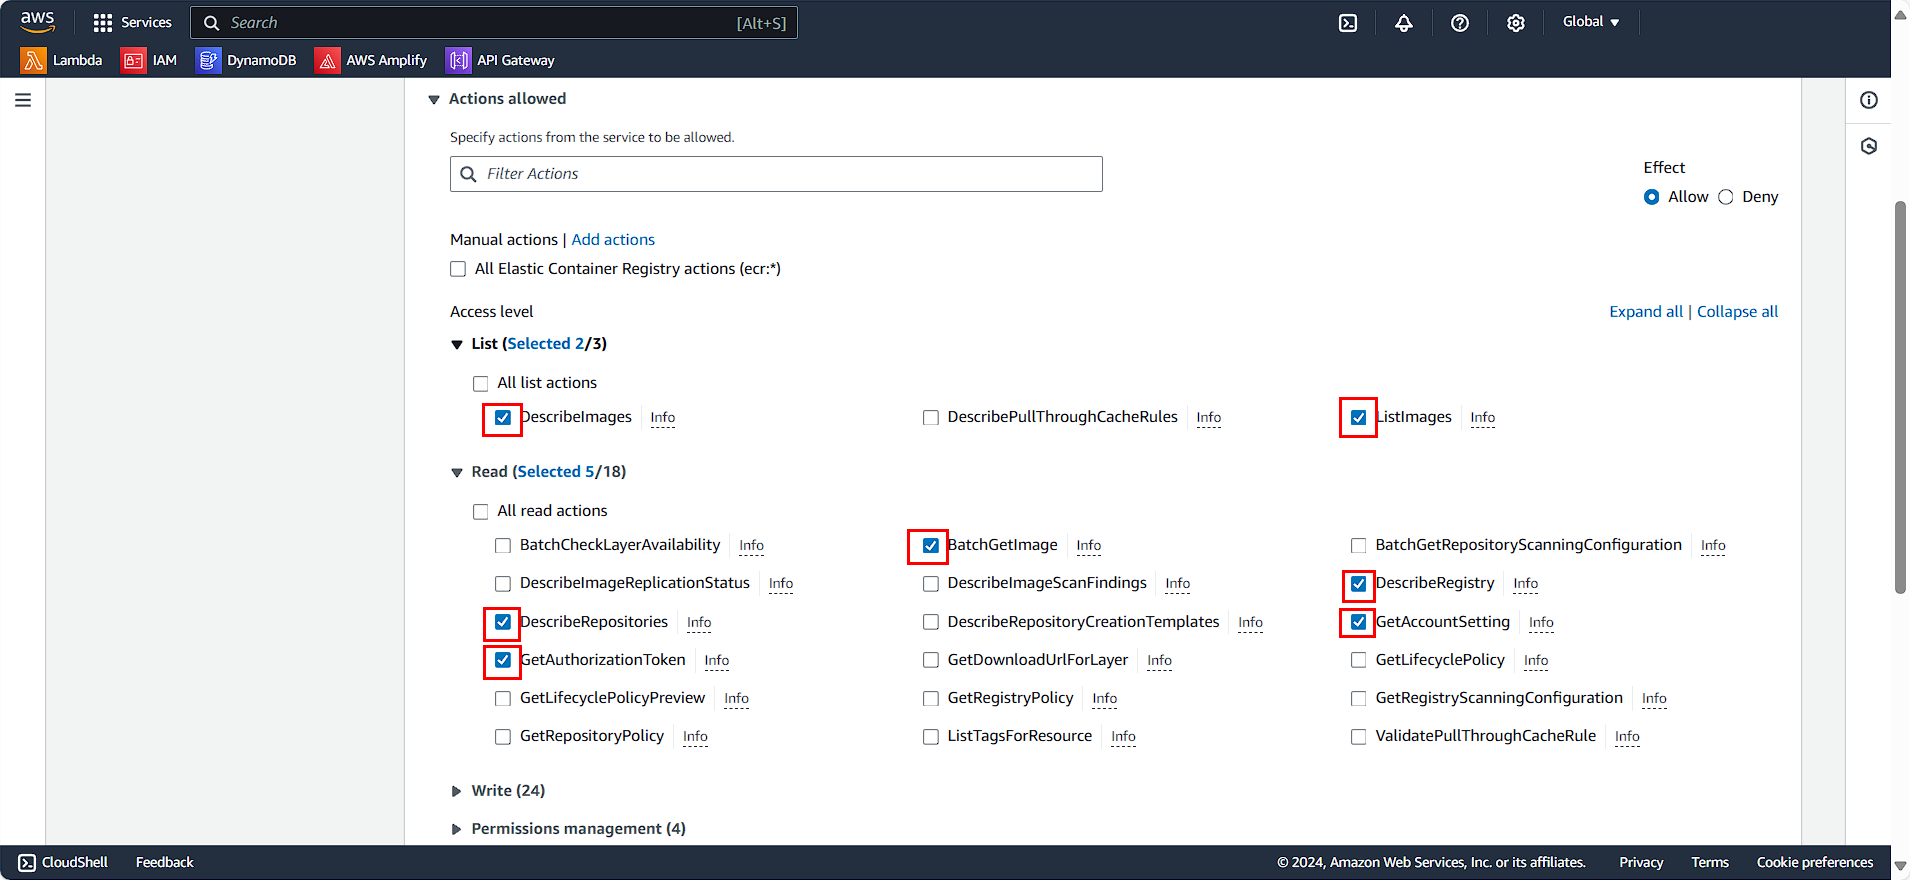
Xuất hiện bảng chọn các rule
- Ở phần List
- Chọn DescribeImage
- ListImages
- Ở phần Read
- Chọn BatchGetImage
- Chọn DescribeRegister
- Chọn DescribeRepositories
- Chọn GetAccountSetting
- Chọn GetAuthorizationToken
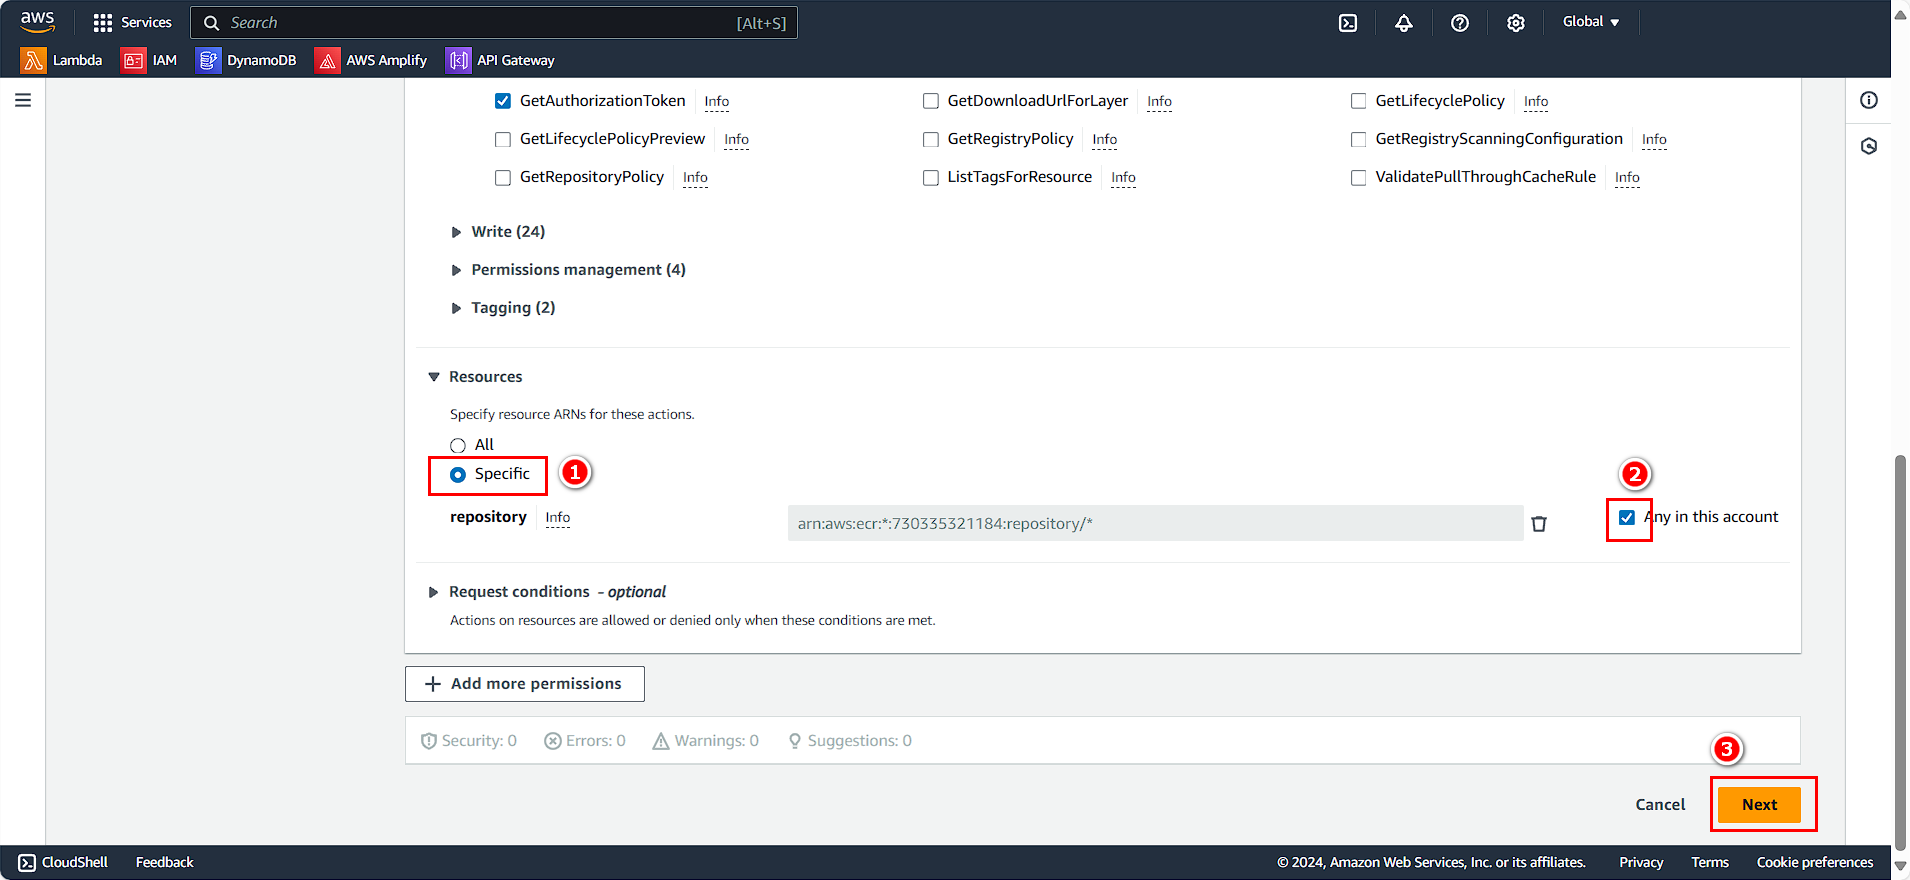
- Ở phần Resources
- Chọn Specific
- Chọn Any in this account
- Chọn Next
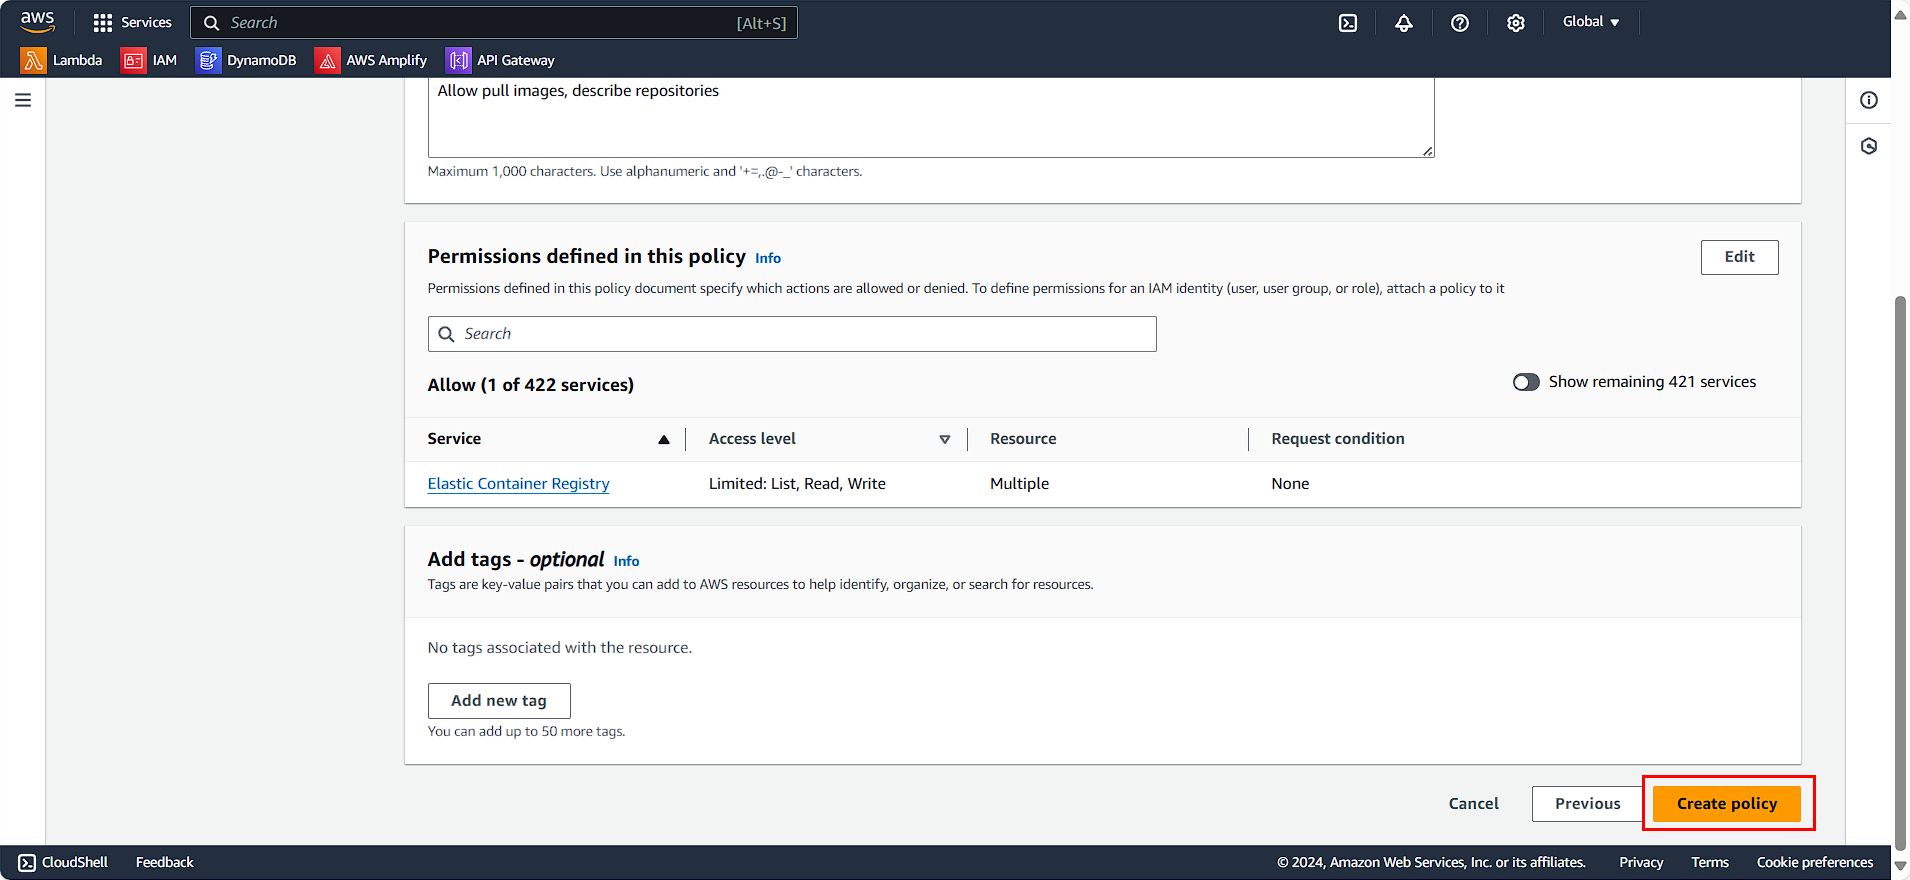
- Ở phần Policy detail
- Policy name
ReadECRRepositoryContent - Description
Allow pull images, describe repositories
- Policy name

- Chọn Create policy
Tương tự chúng ta tạo thêm một policy dành cho write ECR
- Chọn Create Policy
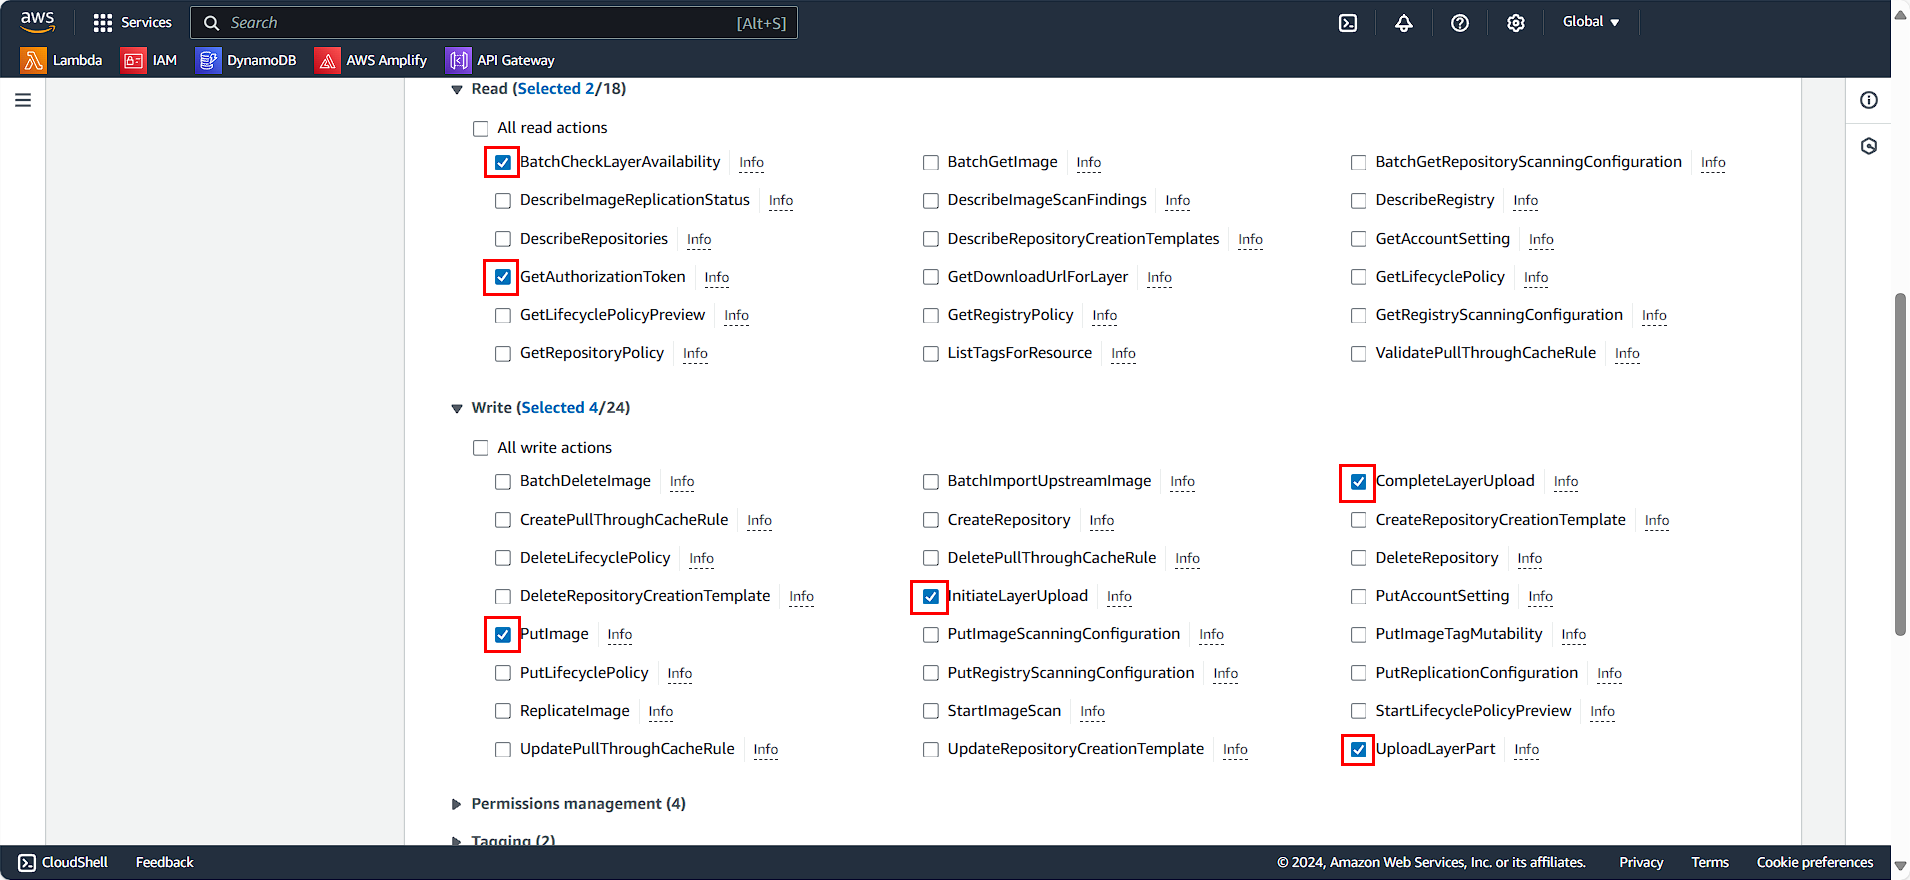
Xuất hiện bảng chọn các rule
- Ở phần Read
- Chọn BatchCheckLayerAvailability
- Chọn GetAuthorizationToken
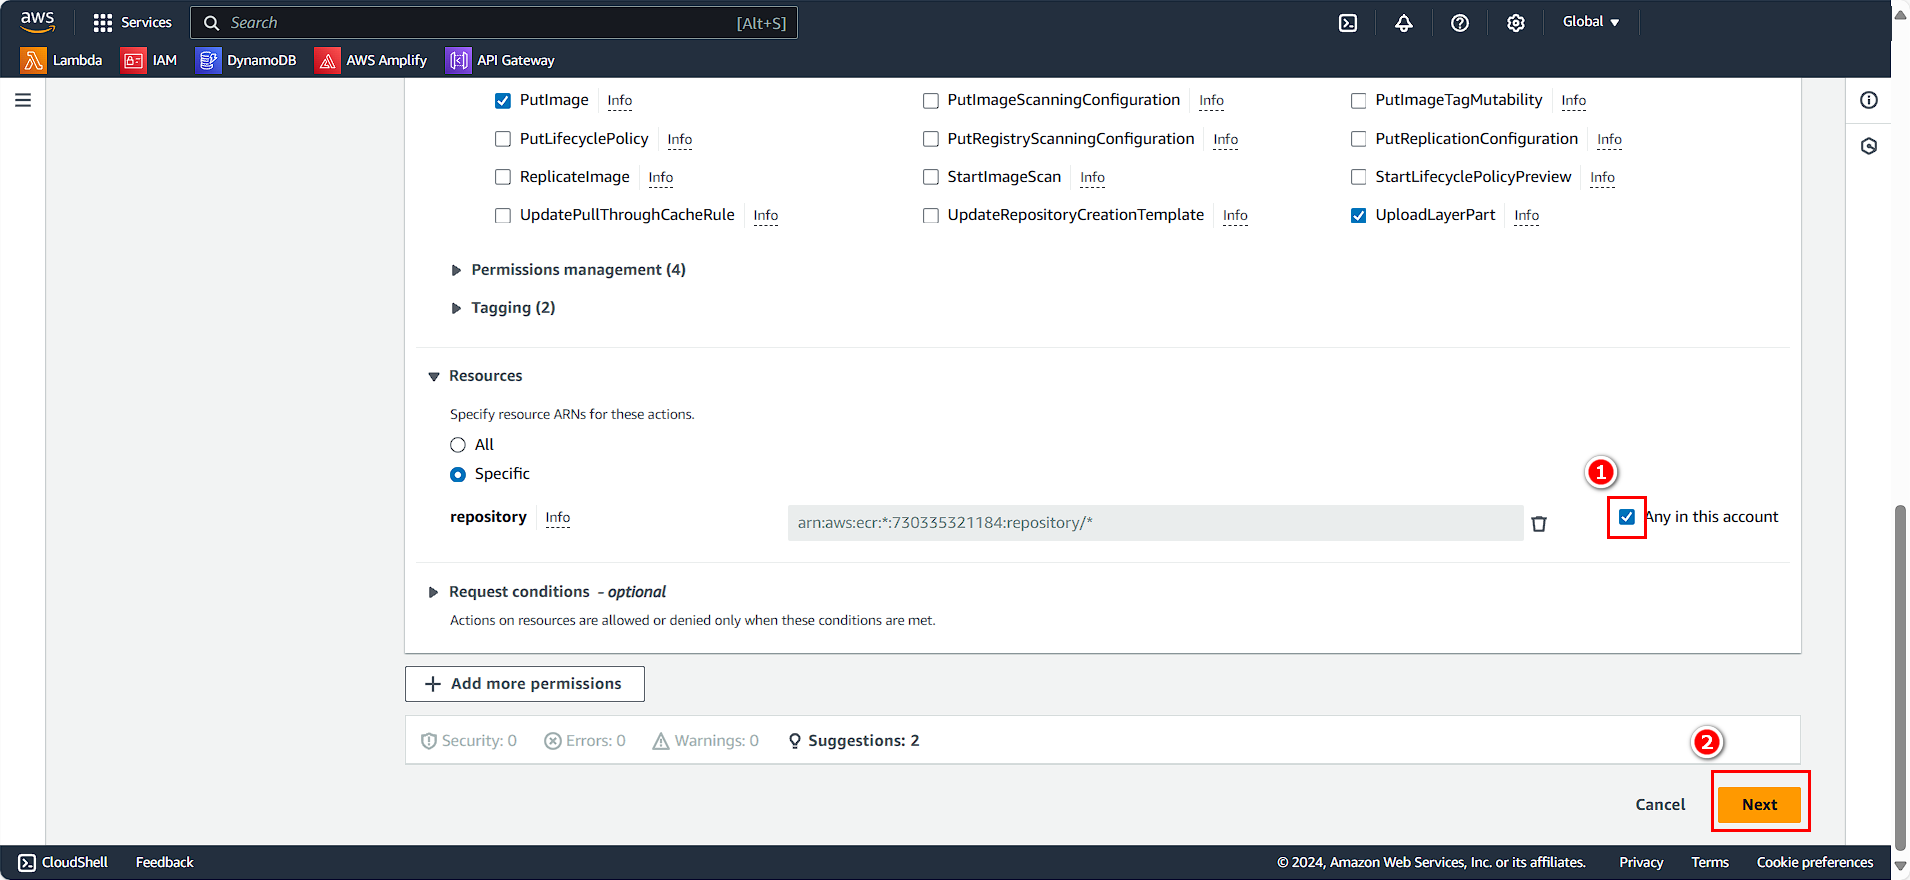
- Ở phần Write
- Chọn Chọn CompleteLayerUpload
- Chọn InitialLayerUpload
- Chọn PutImage
- Chọn UploadLayerPart
- Ở phần Resources
- Chọn Any in this account
- Chọn Next
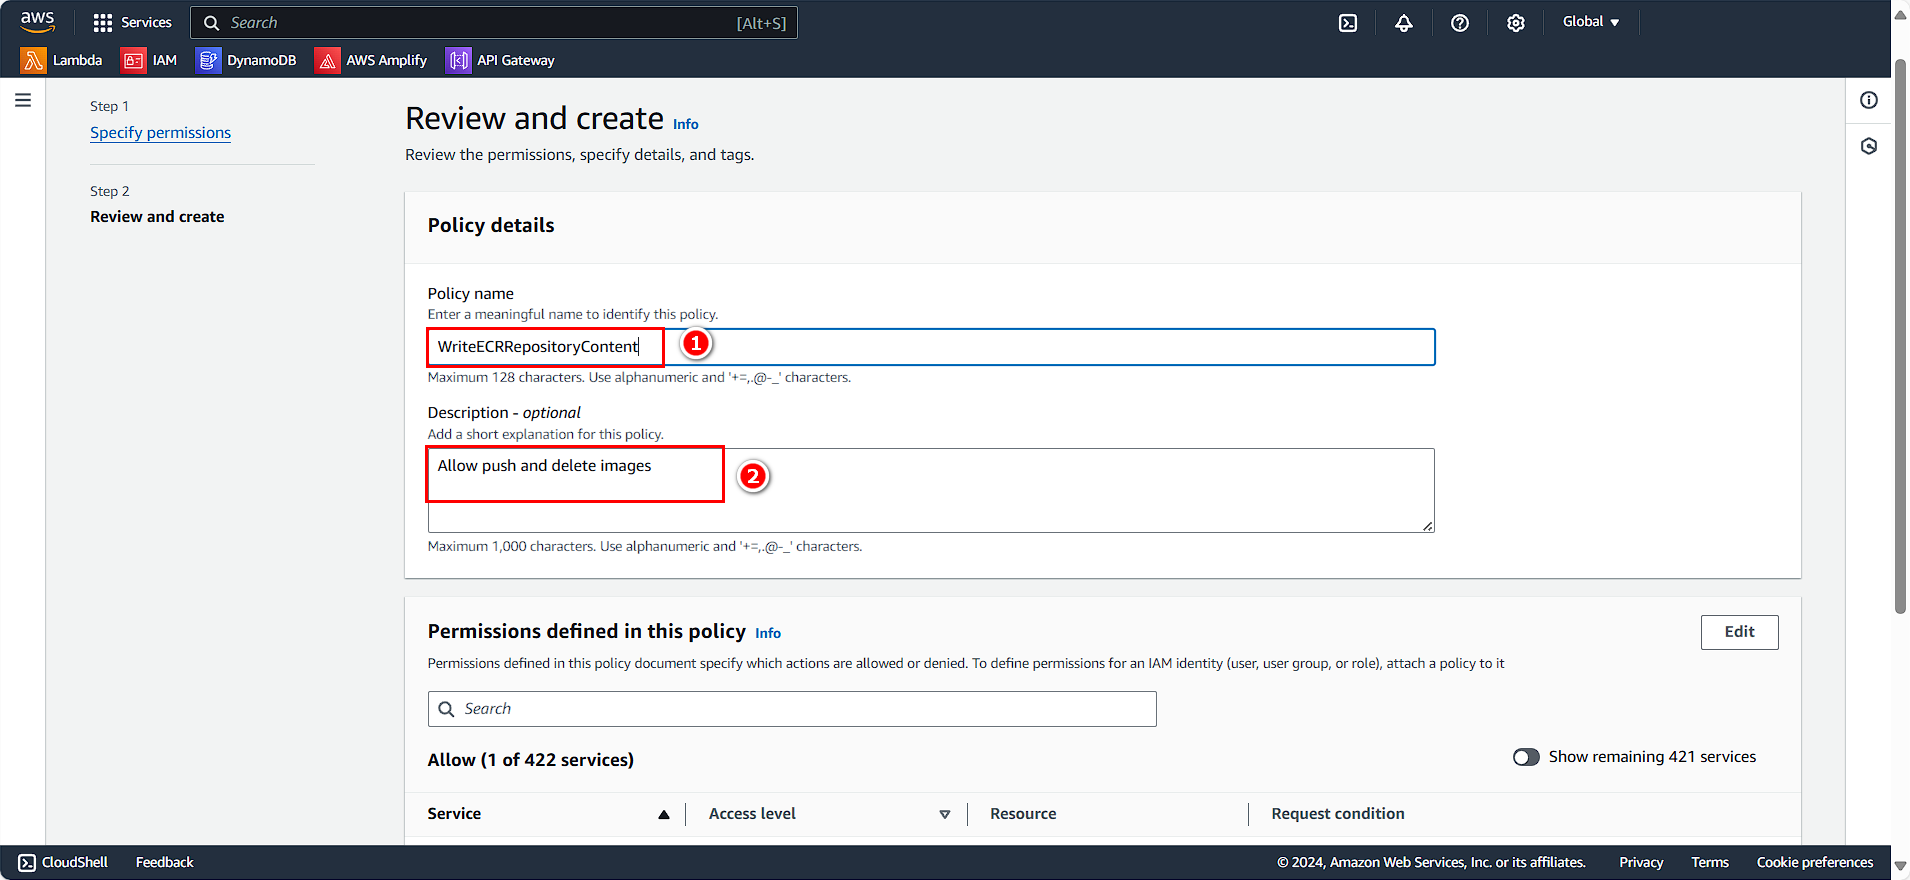
Xuất hiện bảng Policy detail
- Policy name WriteECRRepositoryContent
- Description Allow push and delete images
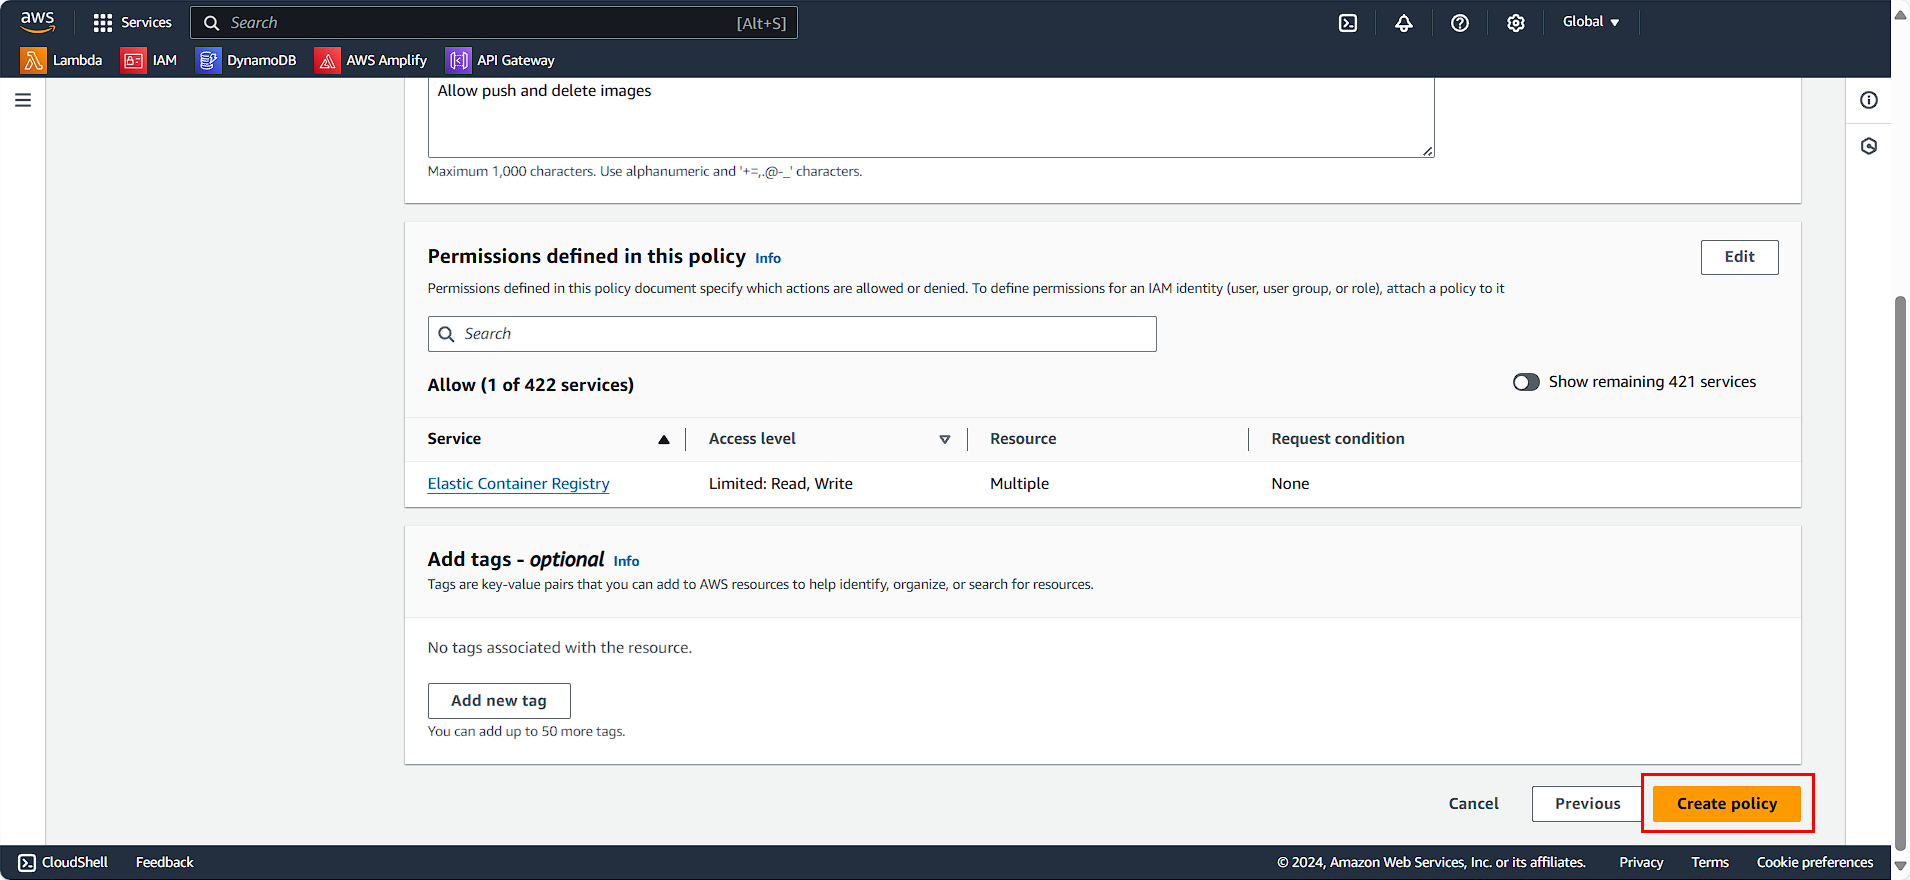
- Chọn Create policy
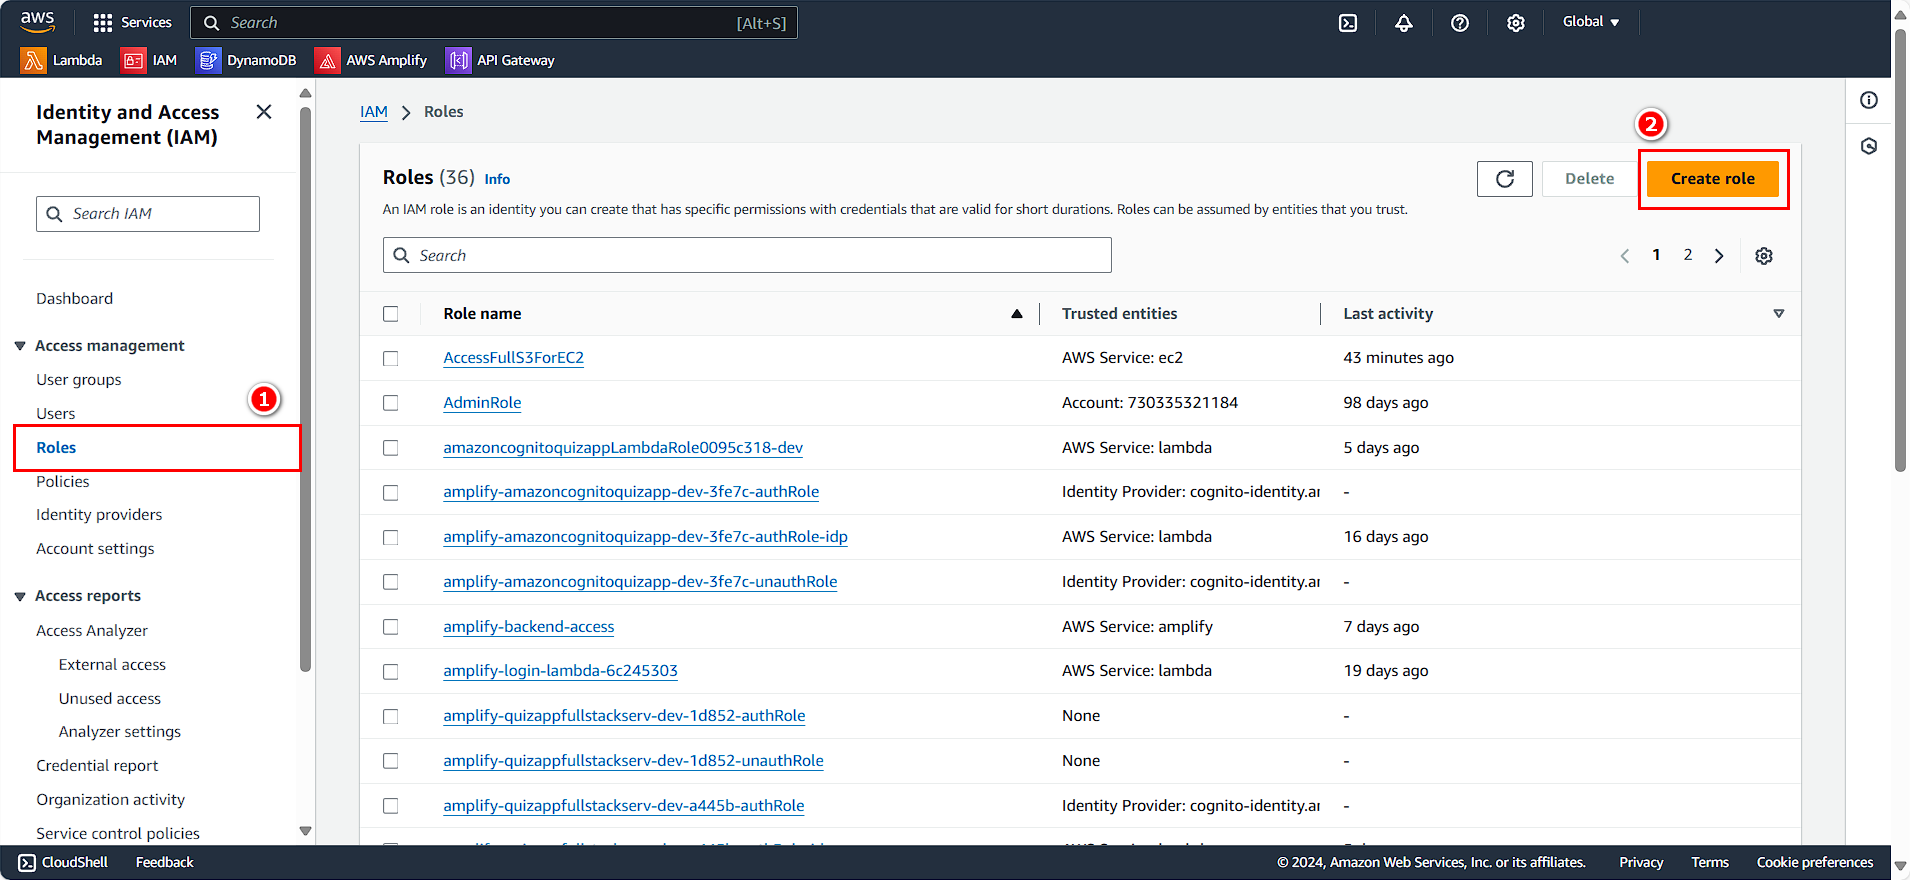
Tạo Role cho ECR
Ở giao diện quản lý EC2
- Chọn Roles
- Chọn Create role
- Chọn AWS service
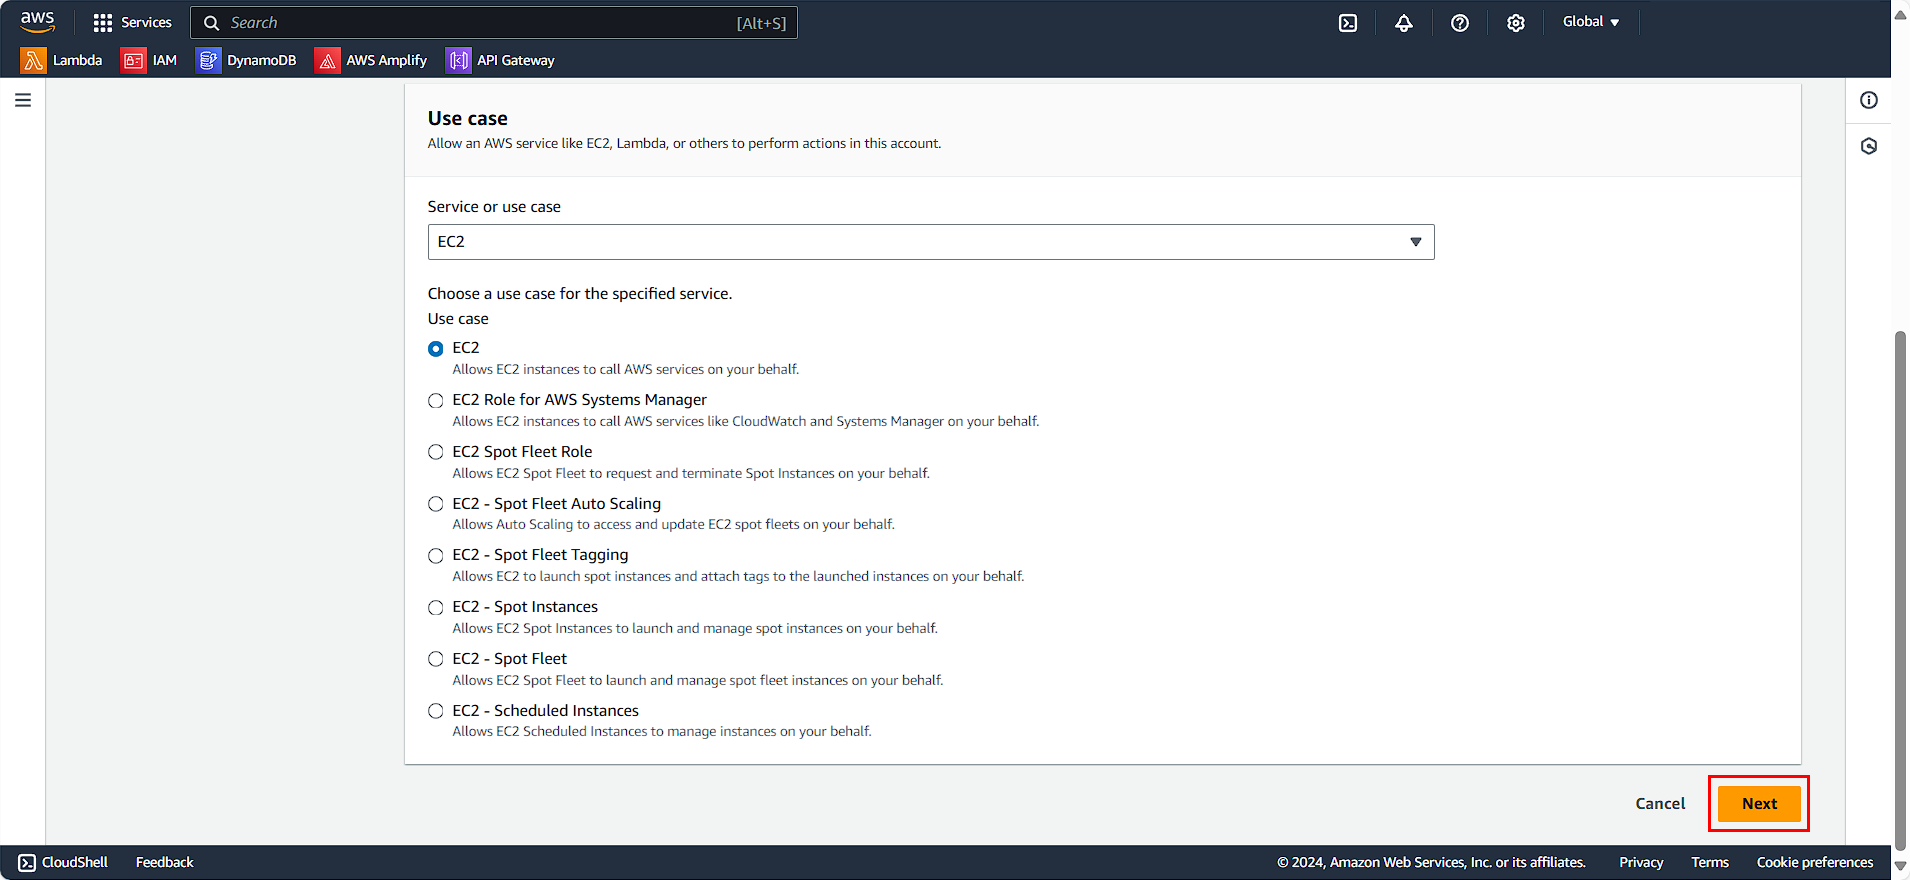
- Chọn EC2
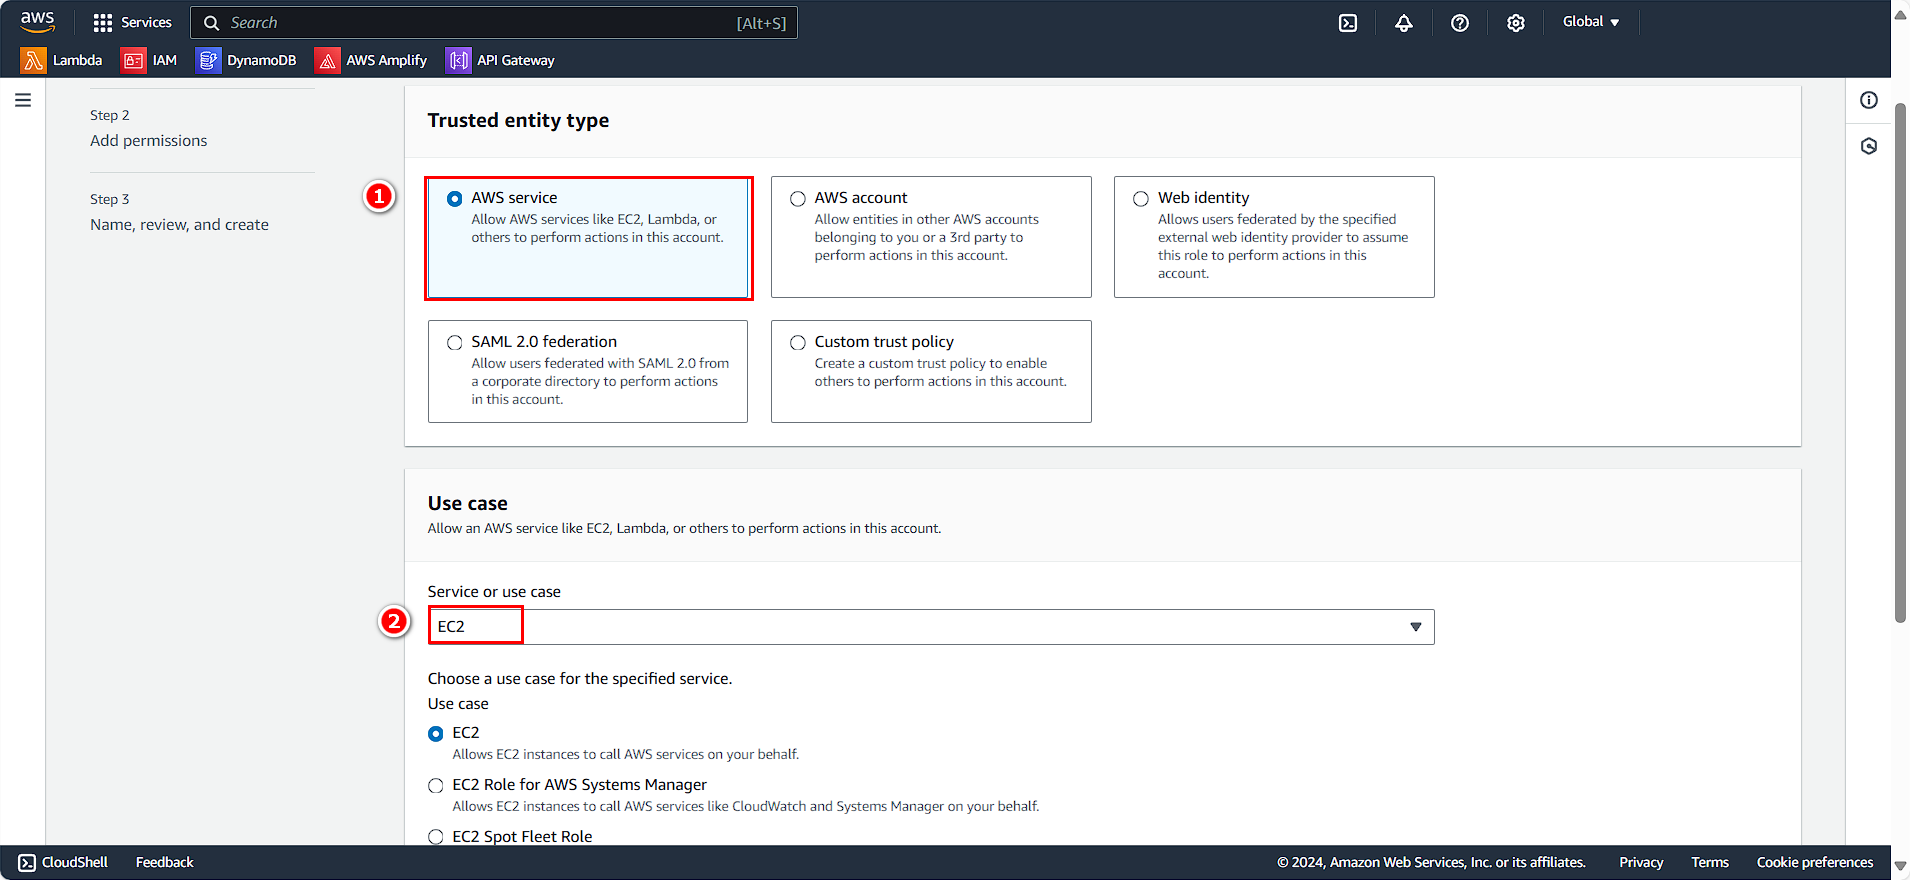
- Chọn Next
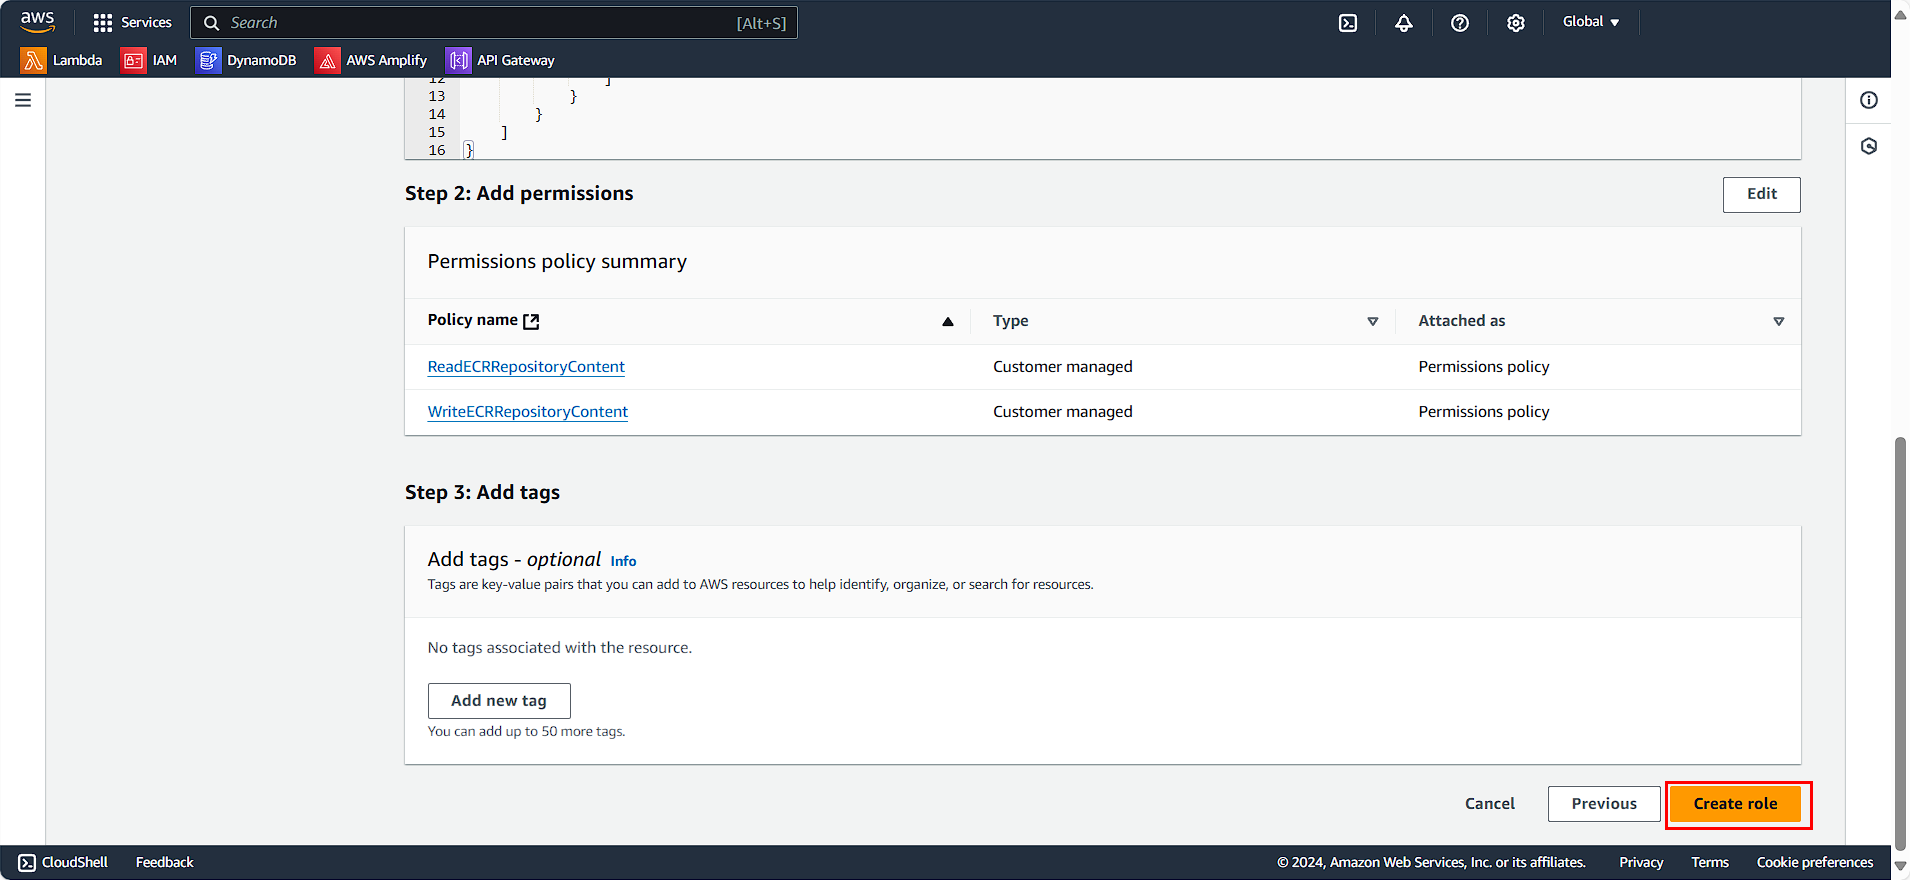
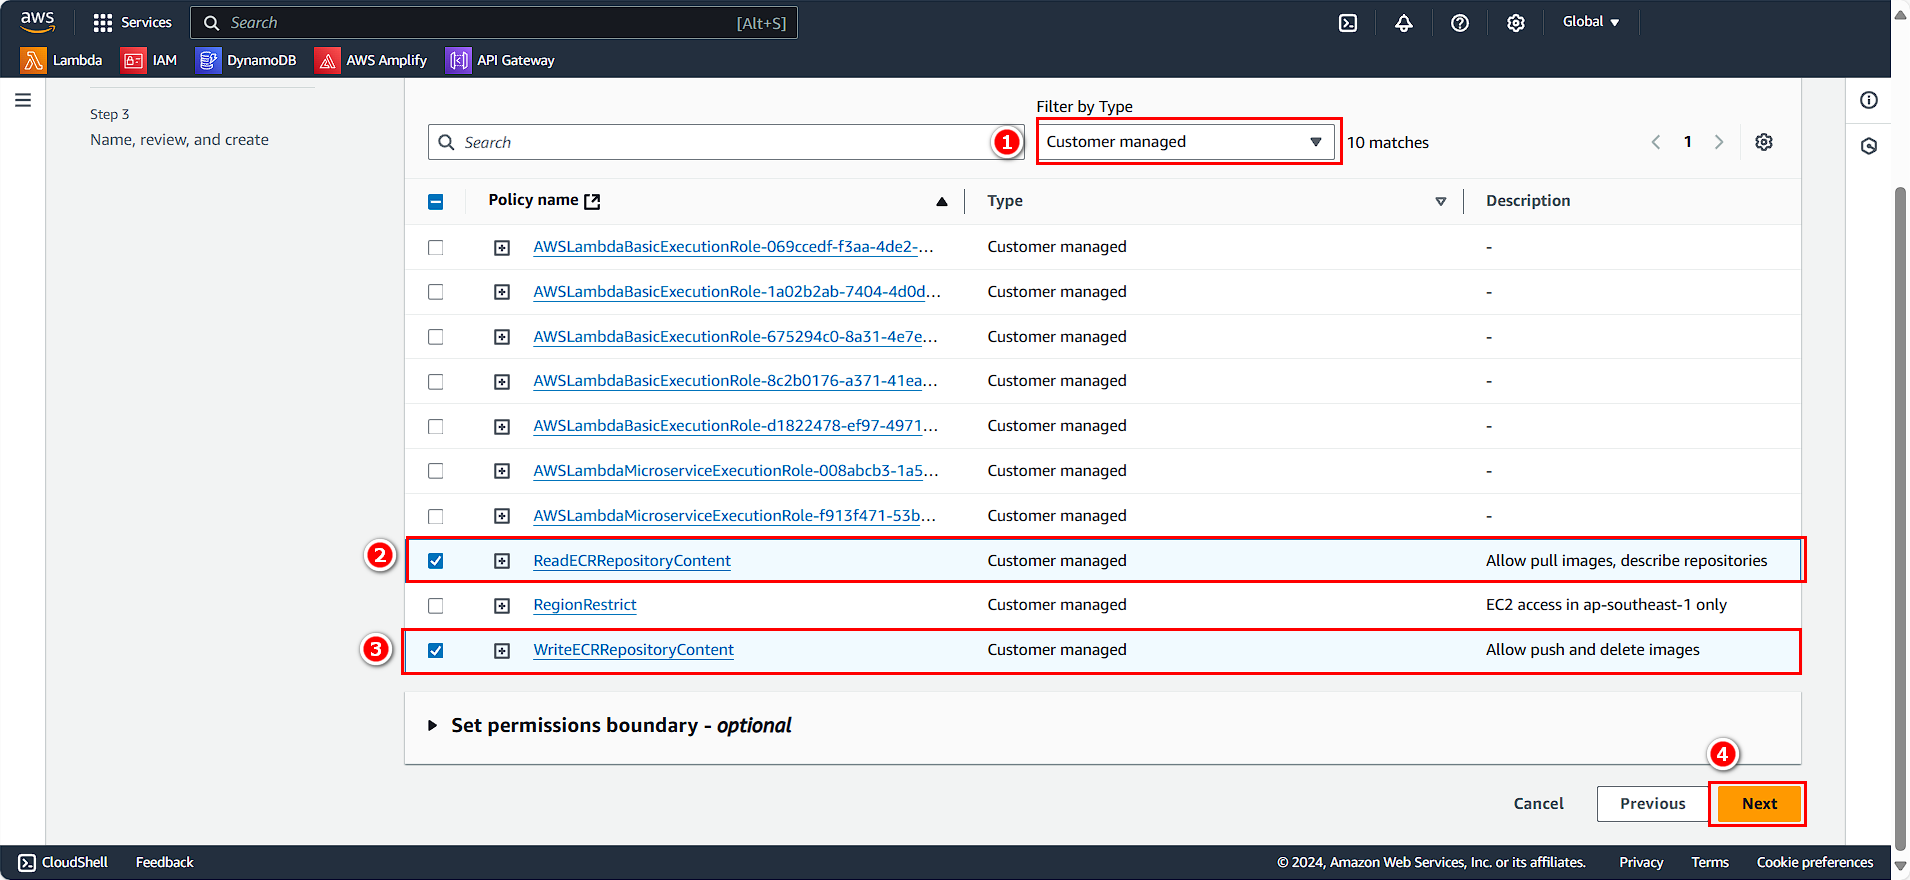
- Filter by Type Customer managed
- Chọn 2 policy mà chúng ta vừa tạo
- Chọn Next
- Role name CustomRWECRRole
- Description Custom Read and Write role ECS
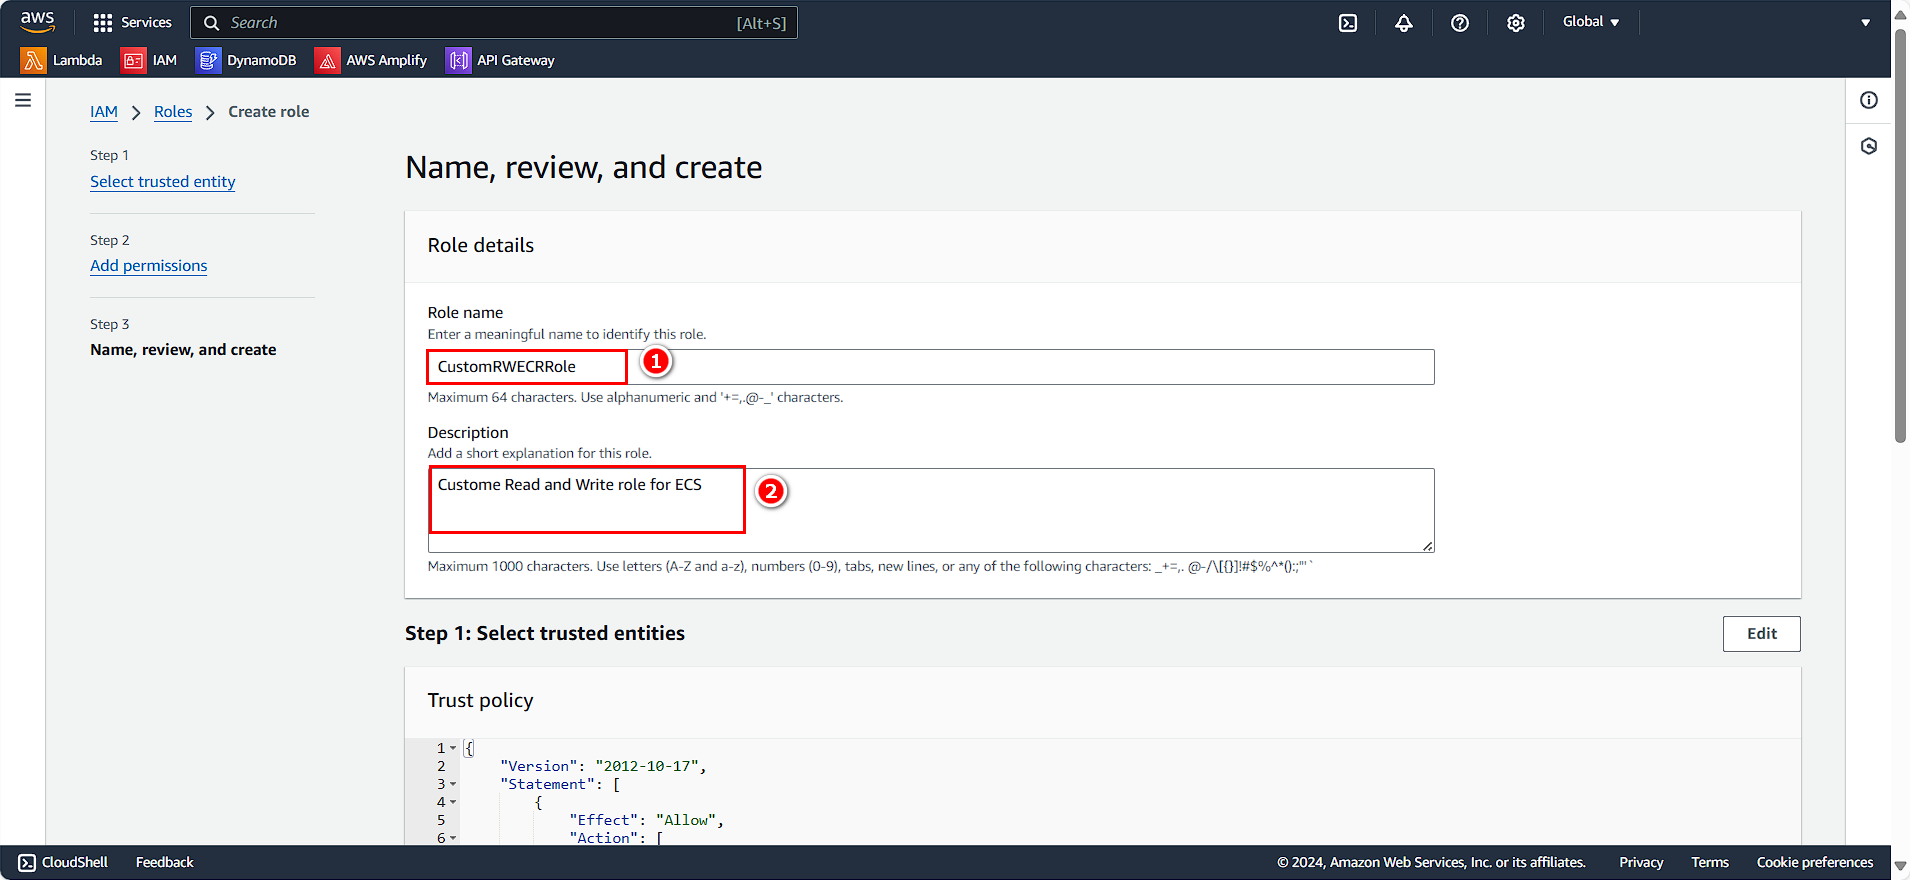
- Chọn Create role