Launch RDS Instance
Create RDS Instance
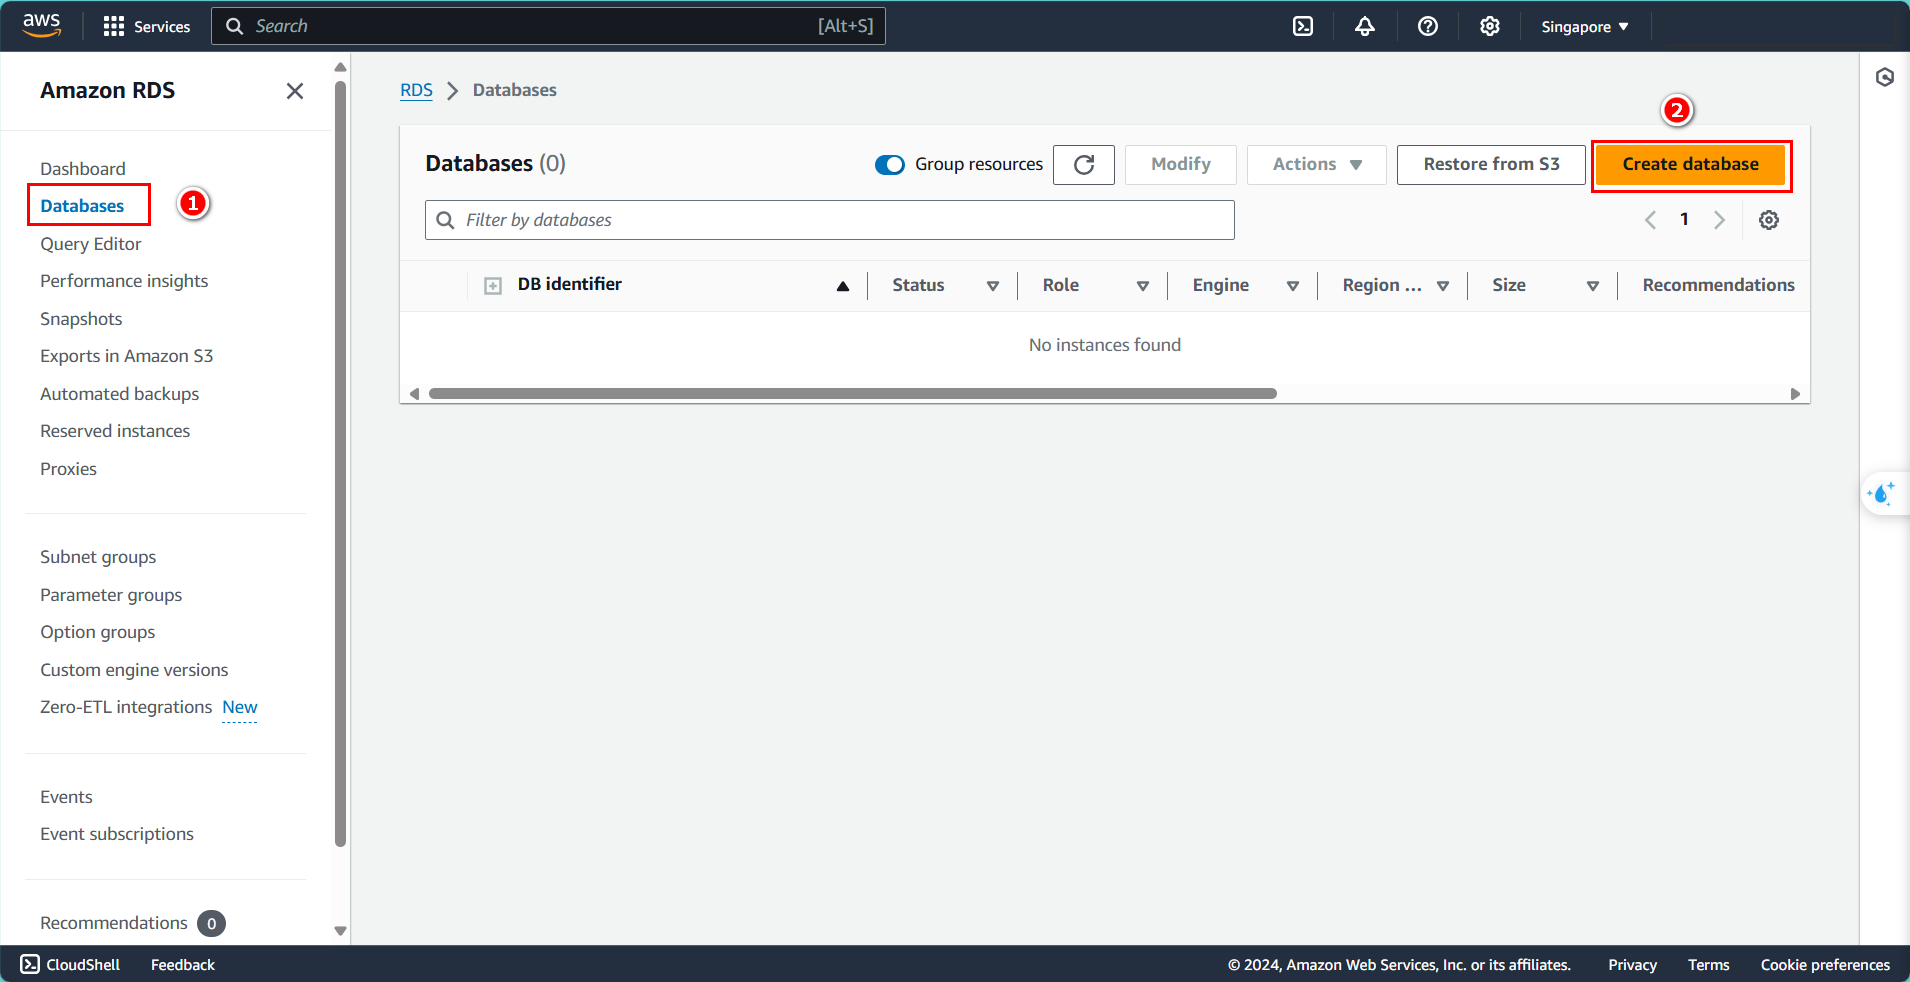
- Go to the section: Databases
- Select: Create Database
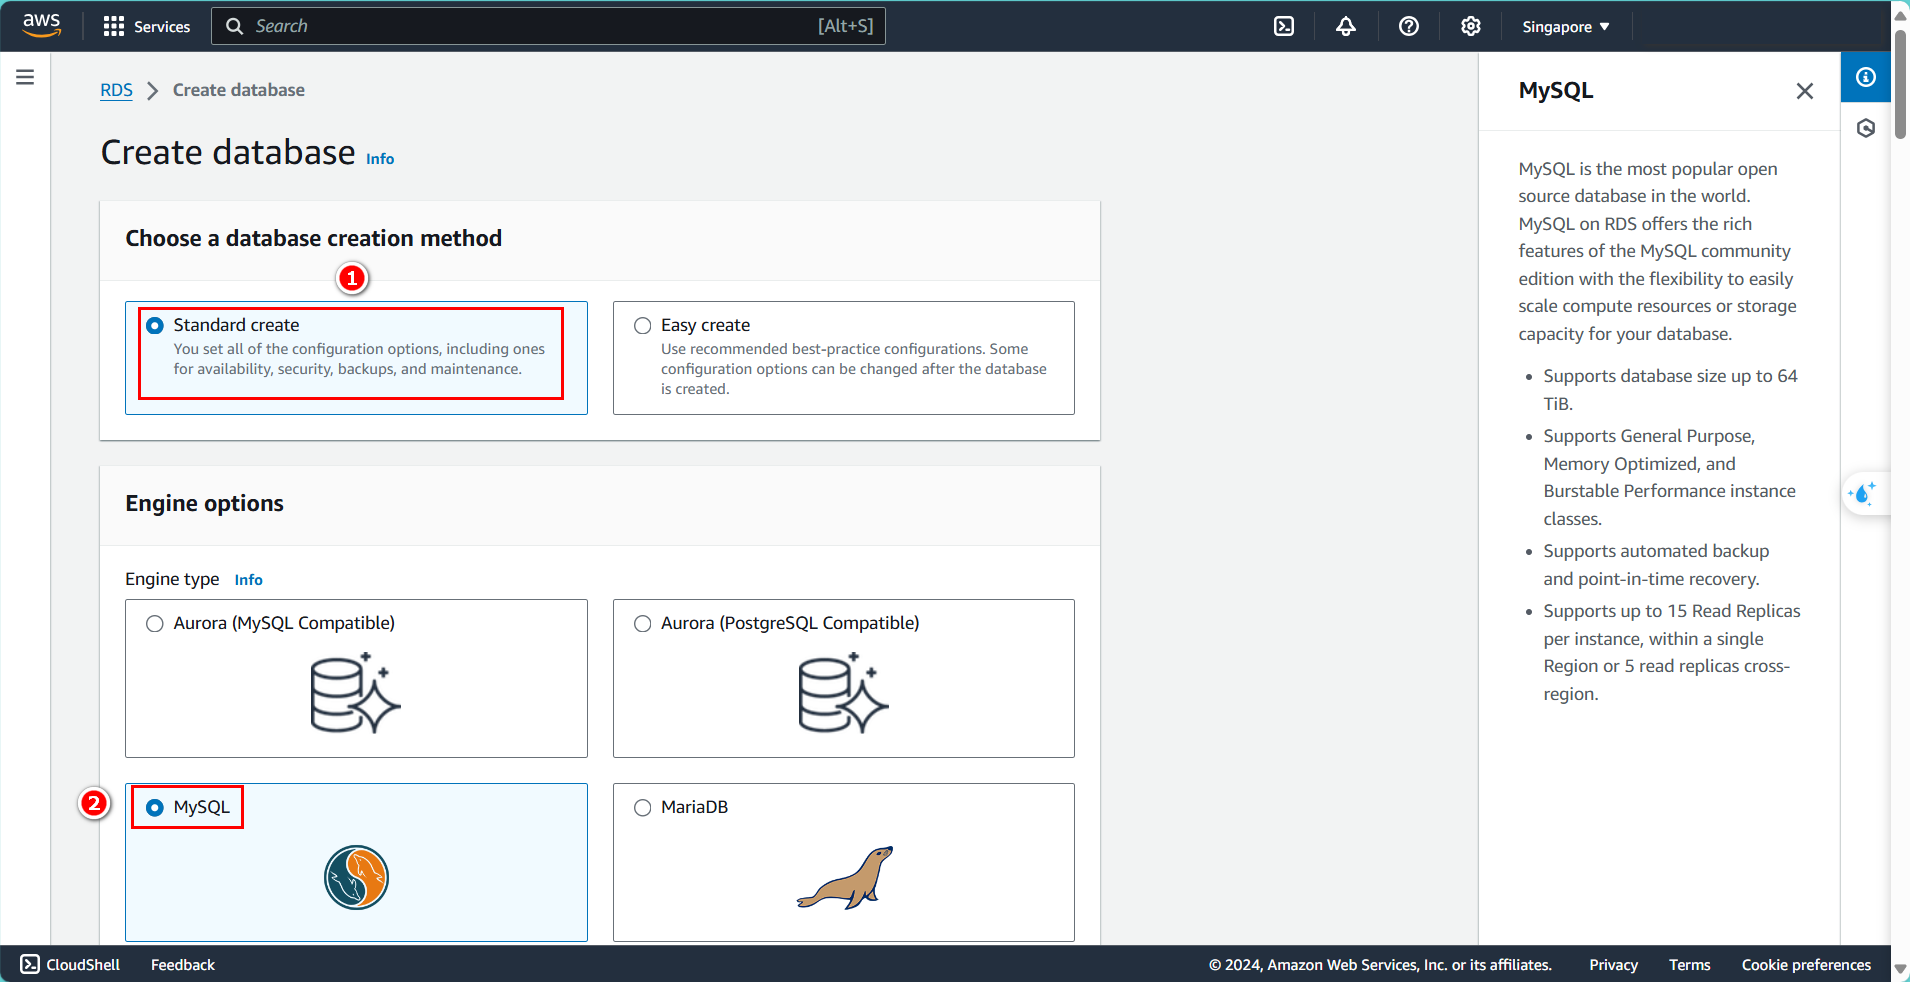
- Choose the method: Standard create
- Select the database type: MySQL
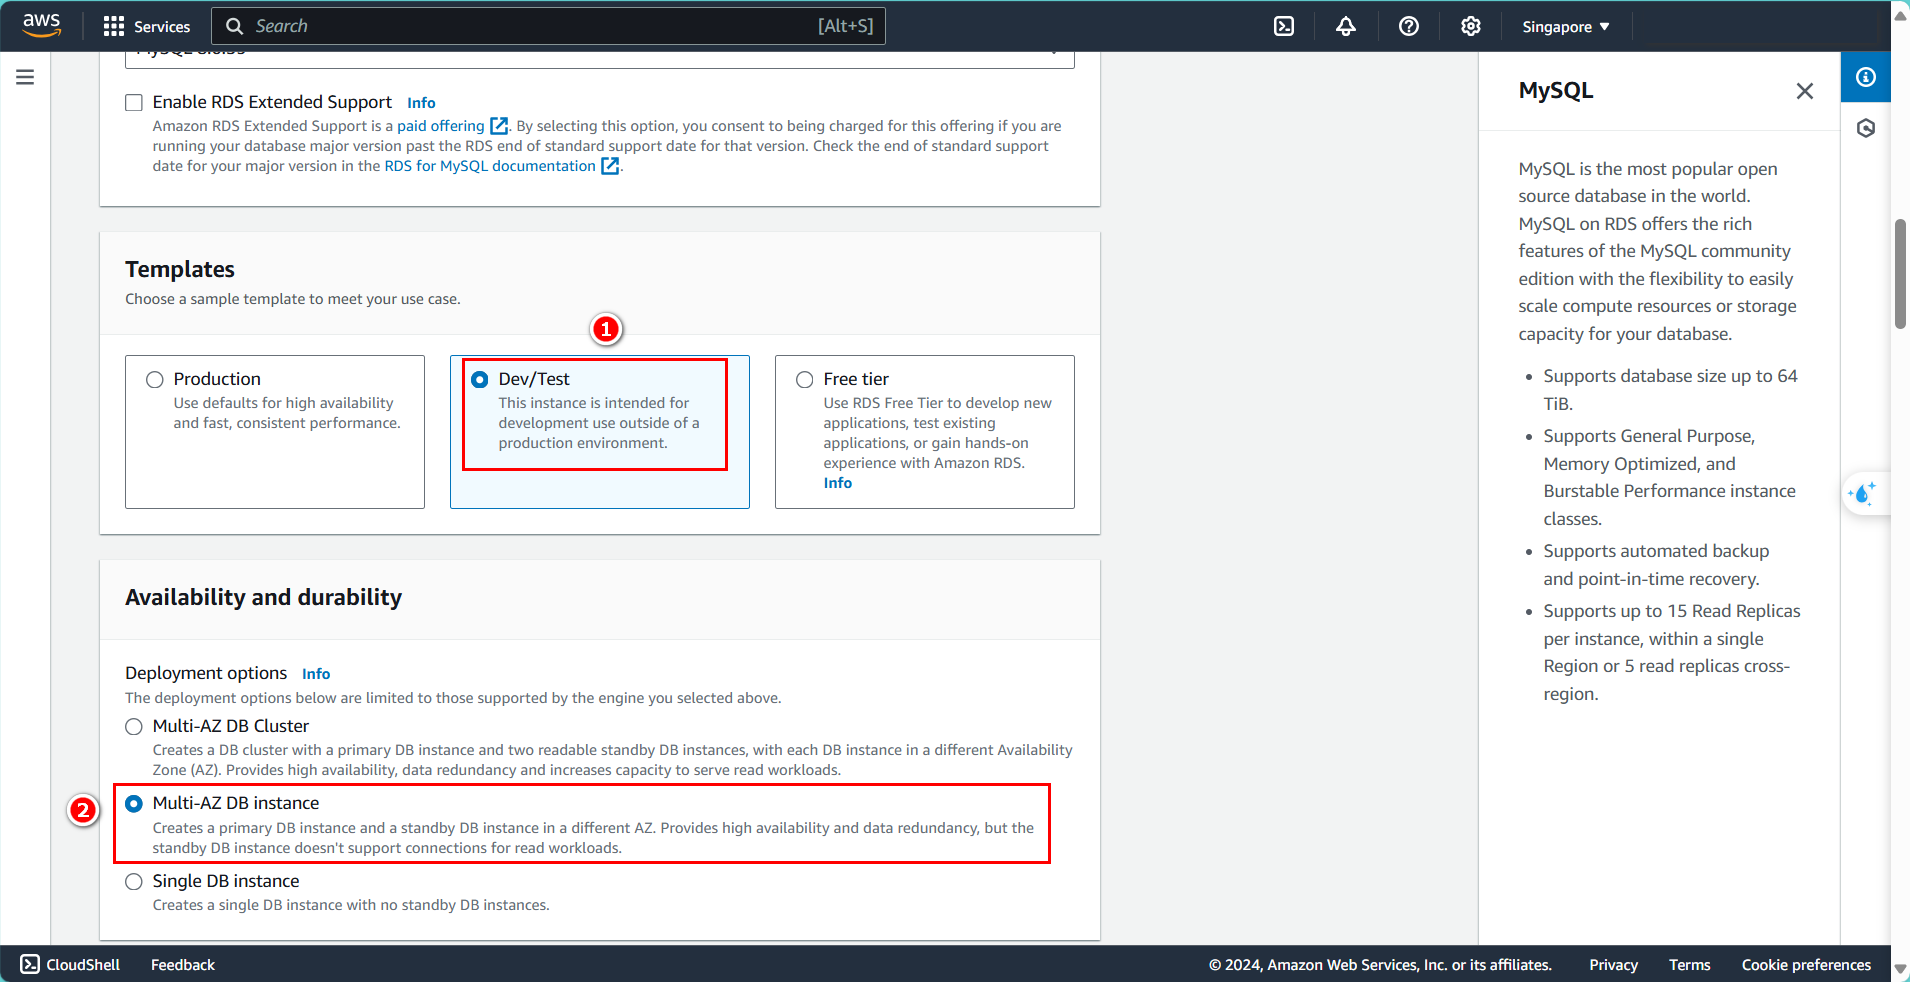
- Select the template: Dev/Test
- Choose Multi-AZ DB instance
This section can be adjusted according to your needs to optimize costs, but there are some limitations, so it’s important to research carefully.
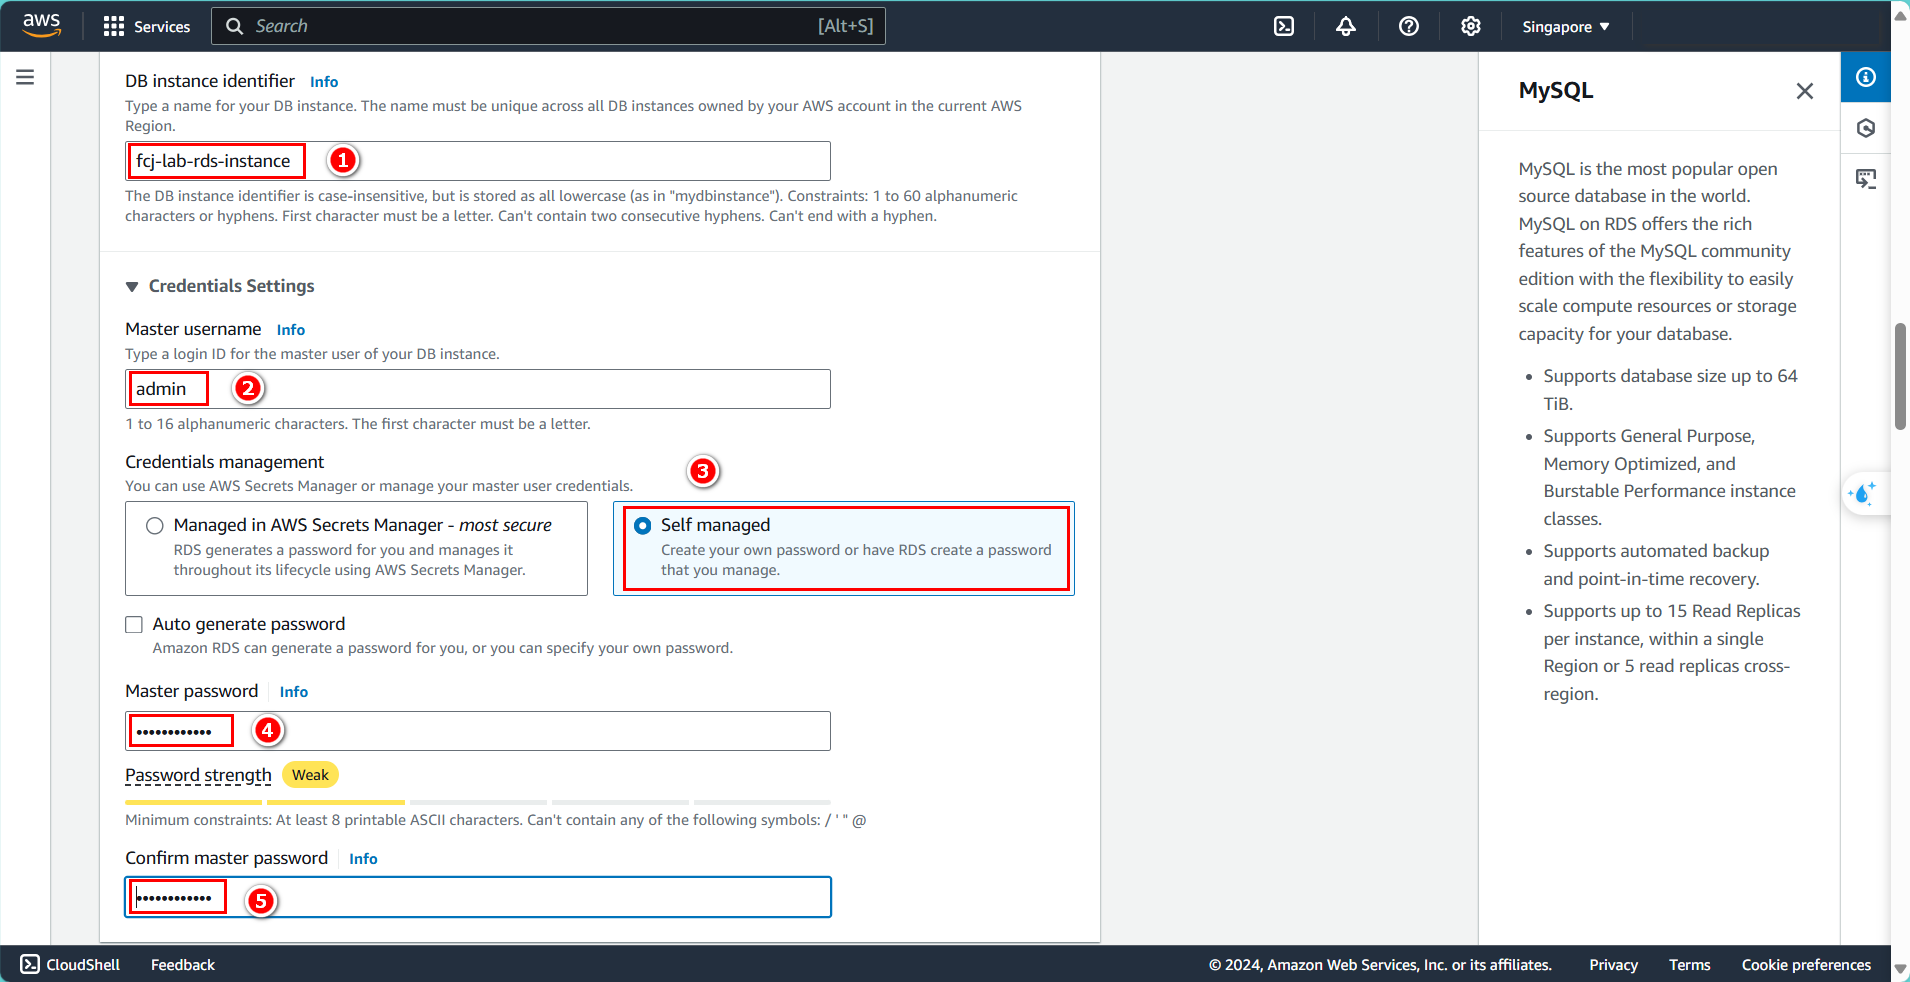
- Enter the DB instance name:
fcj-lab-rds-instance - Enter the username:
admin - Enter the password:
letmein12345
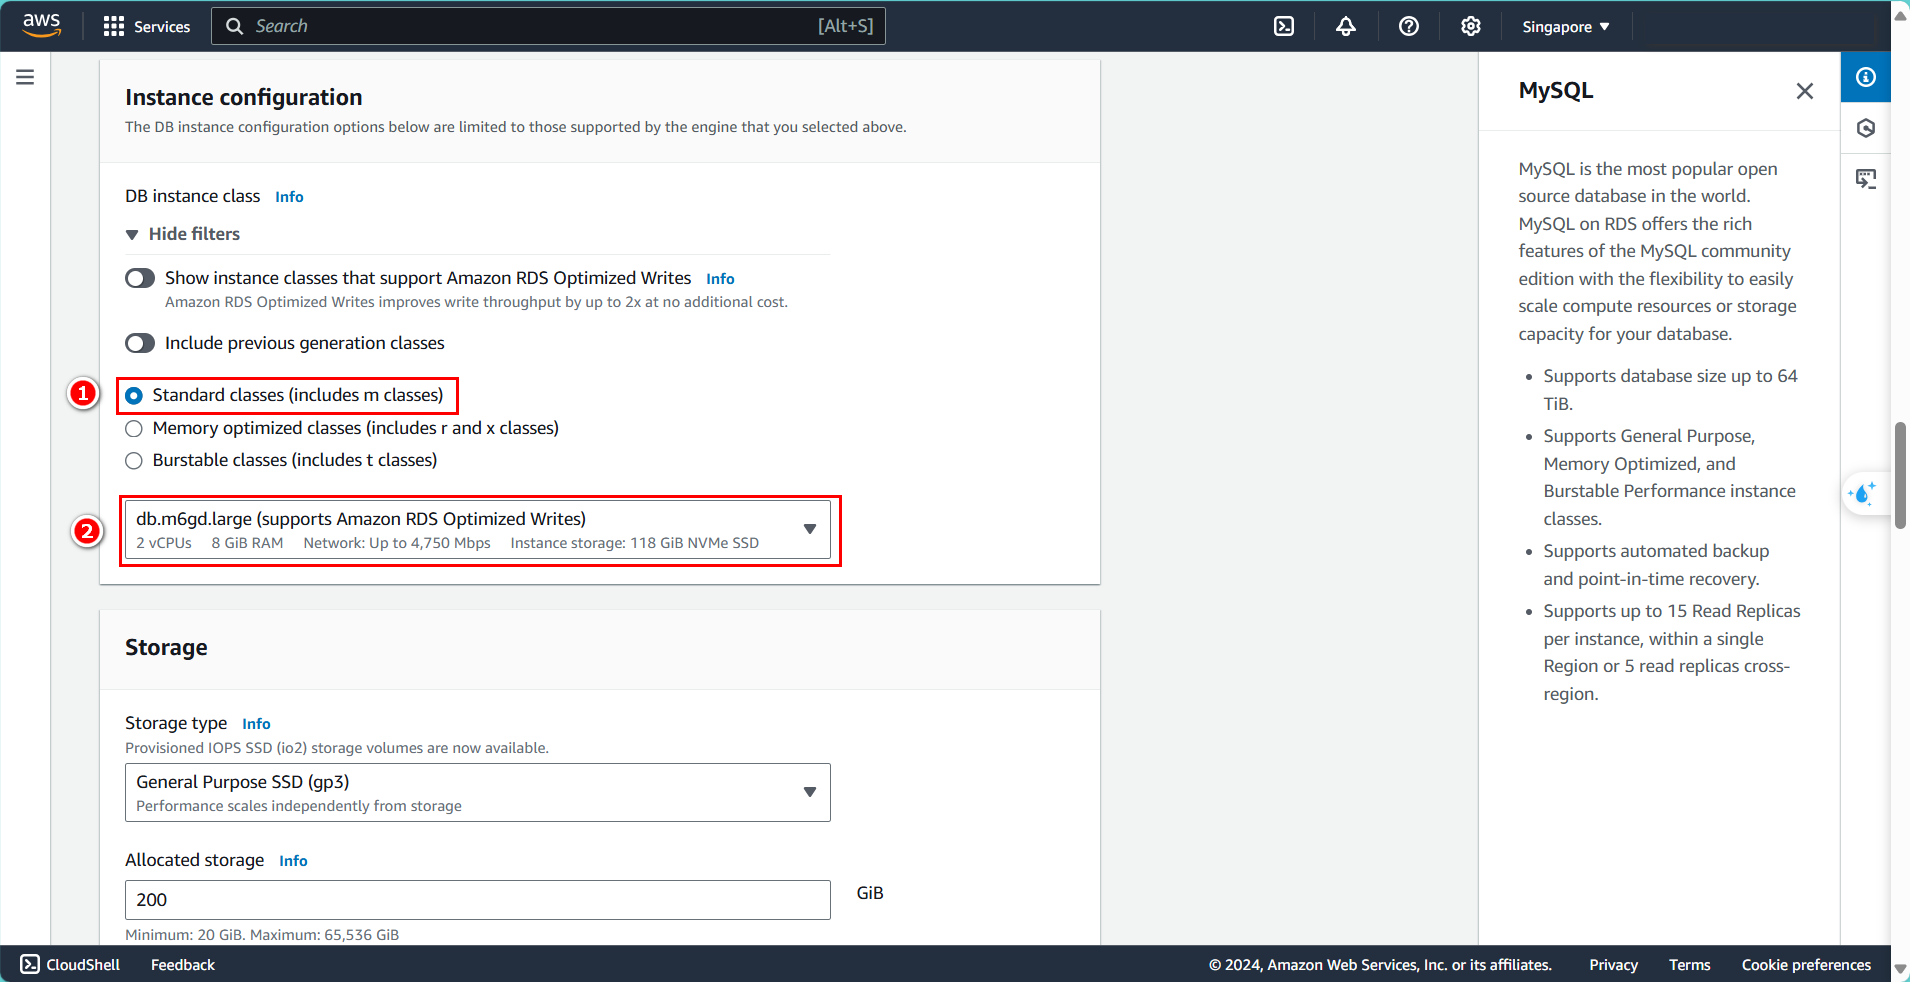
- Adjust configurations as needed
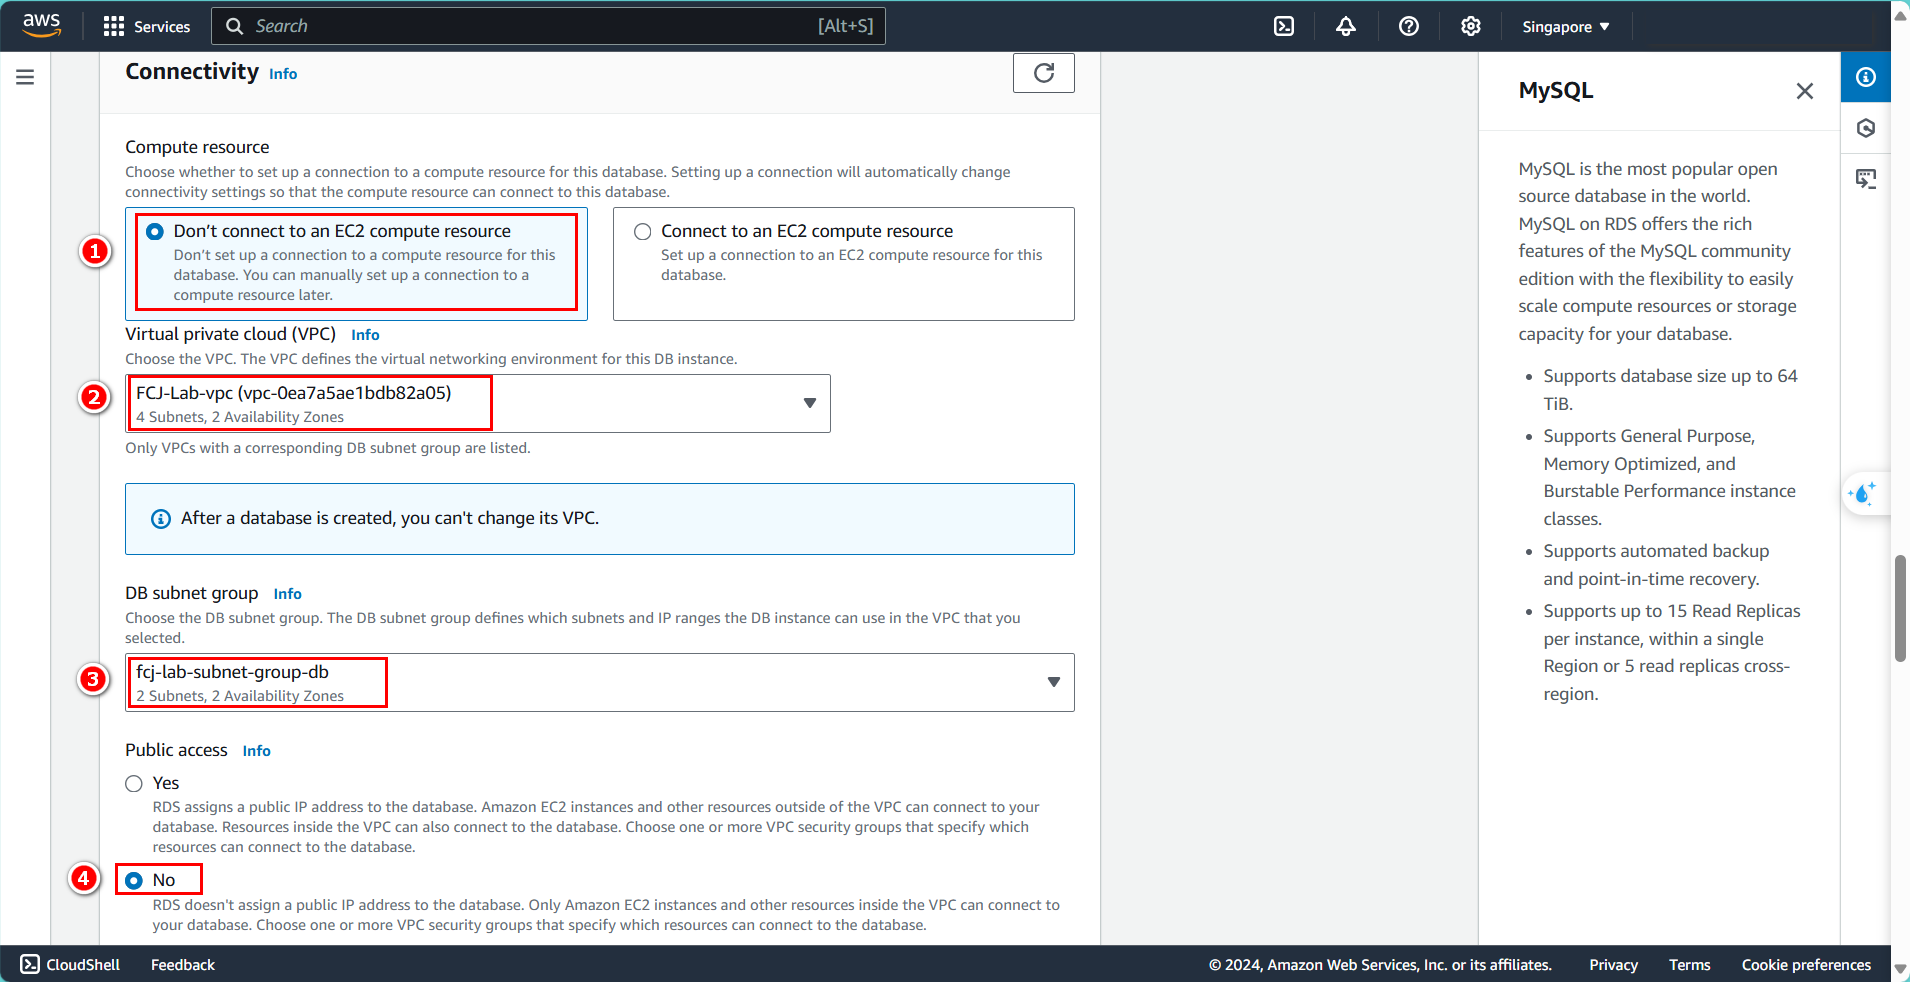
- Connect to the previously created VPC
- Select the Subnet created in the previous section
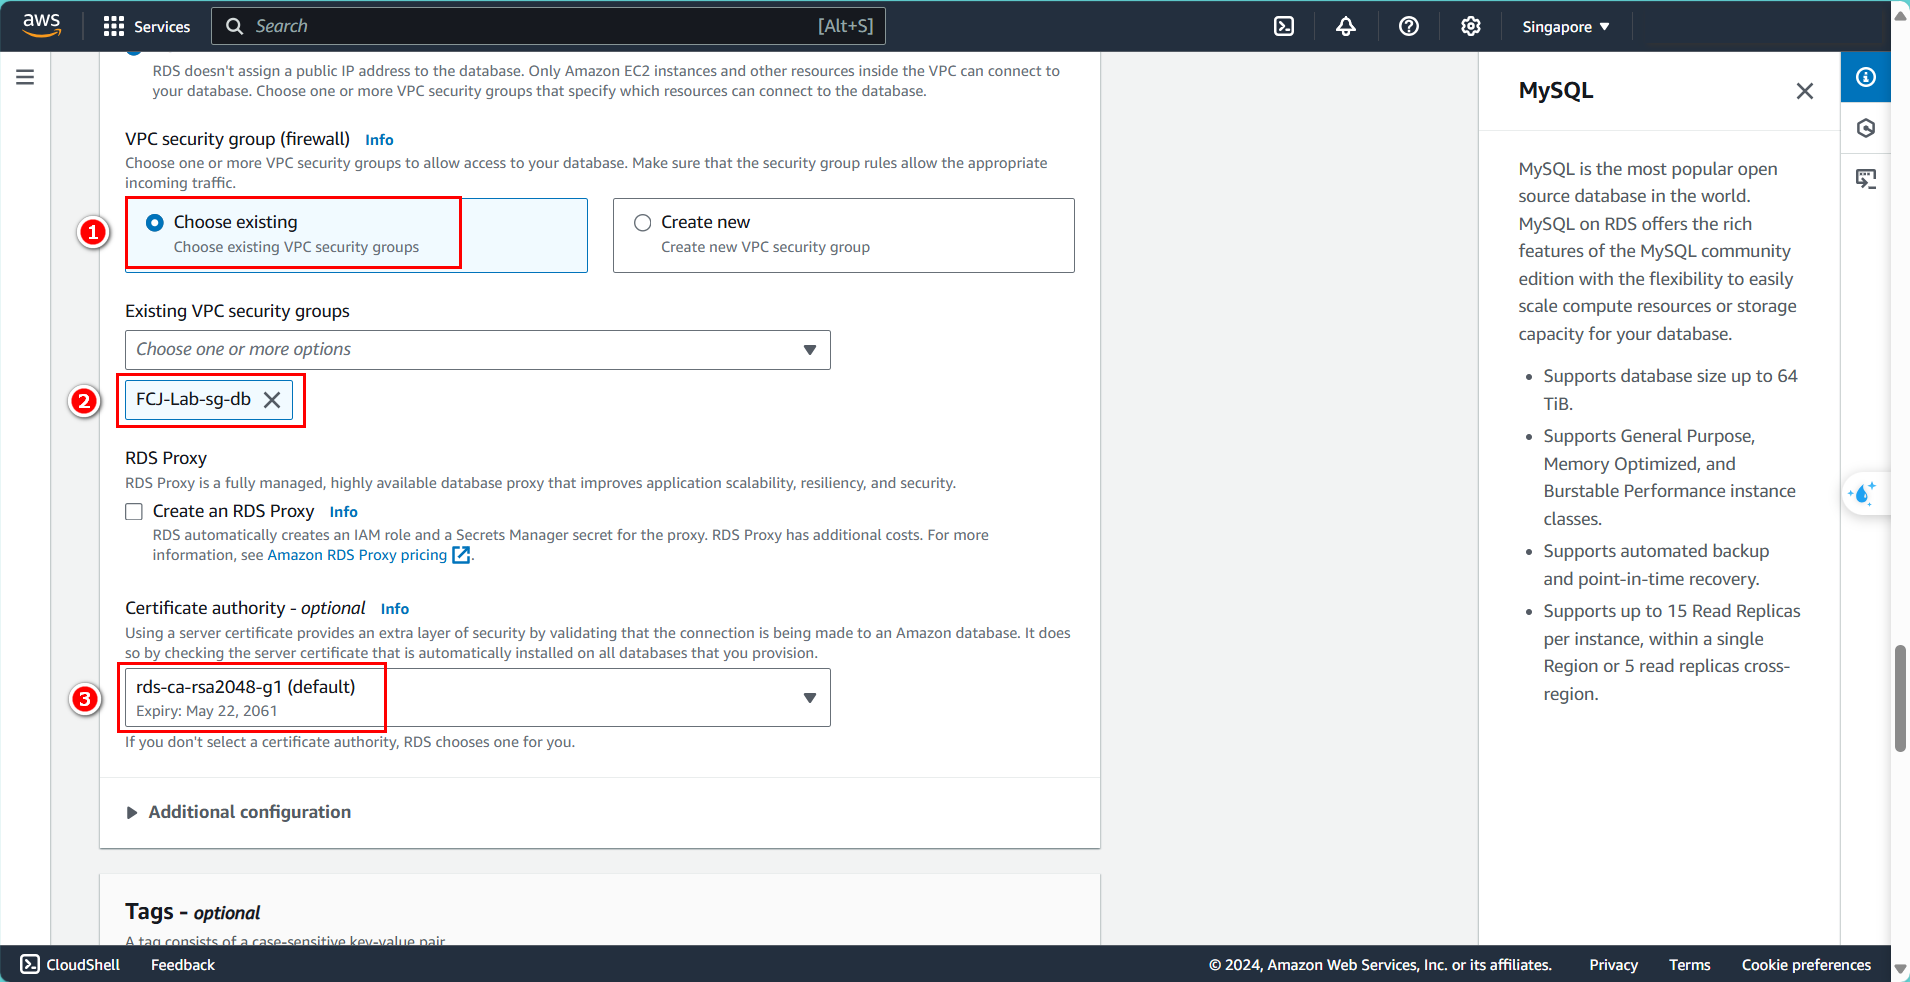
- Choose the Security group created for the DB
- The following sections can be left as default or configured based on your preferences
- Review all configurations carefully and click Create
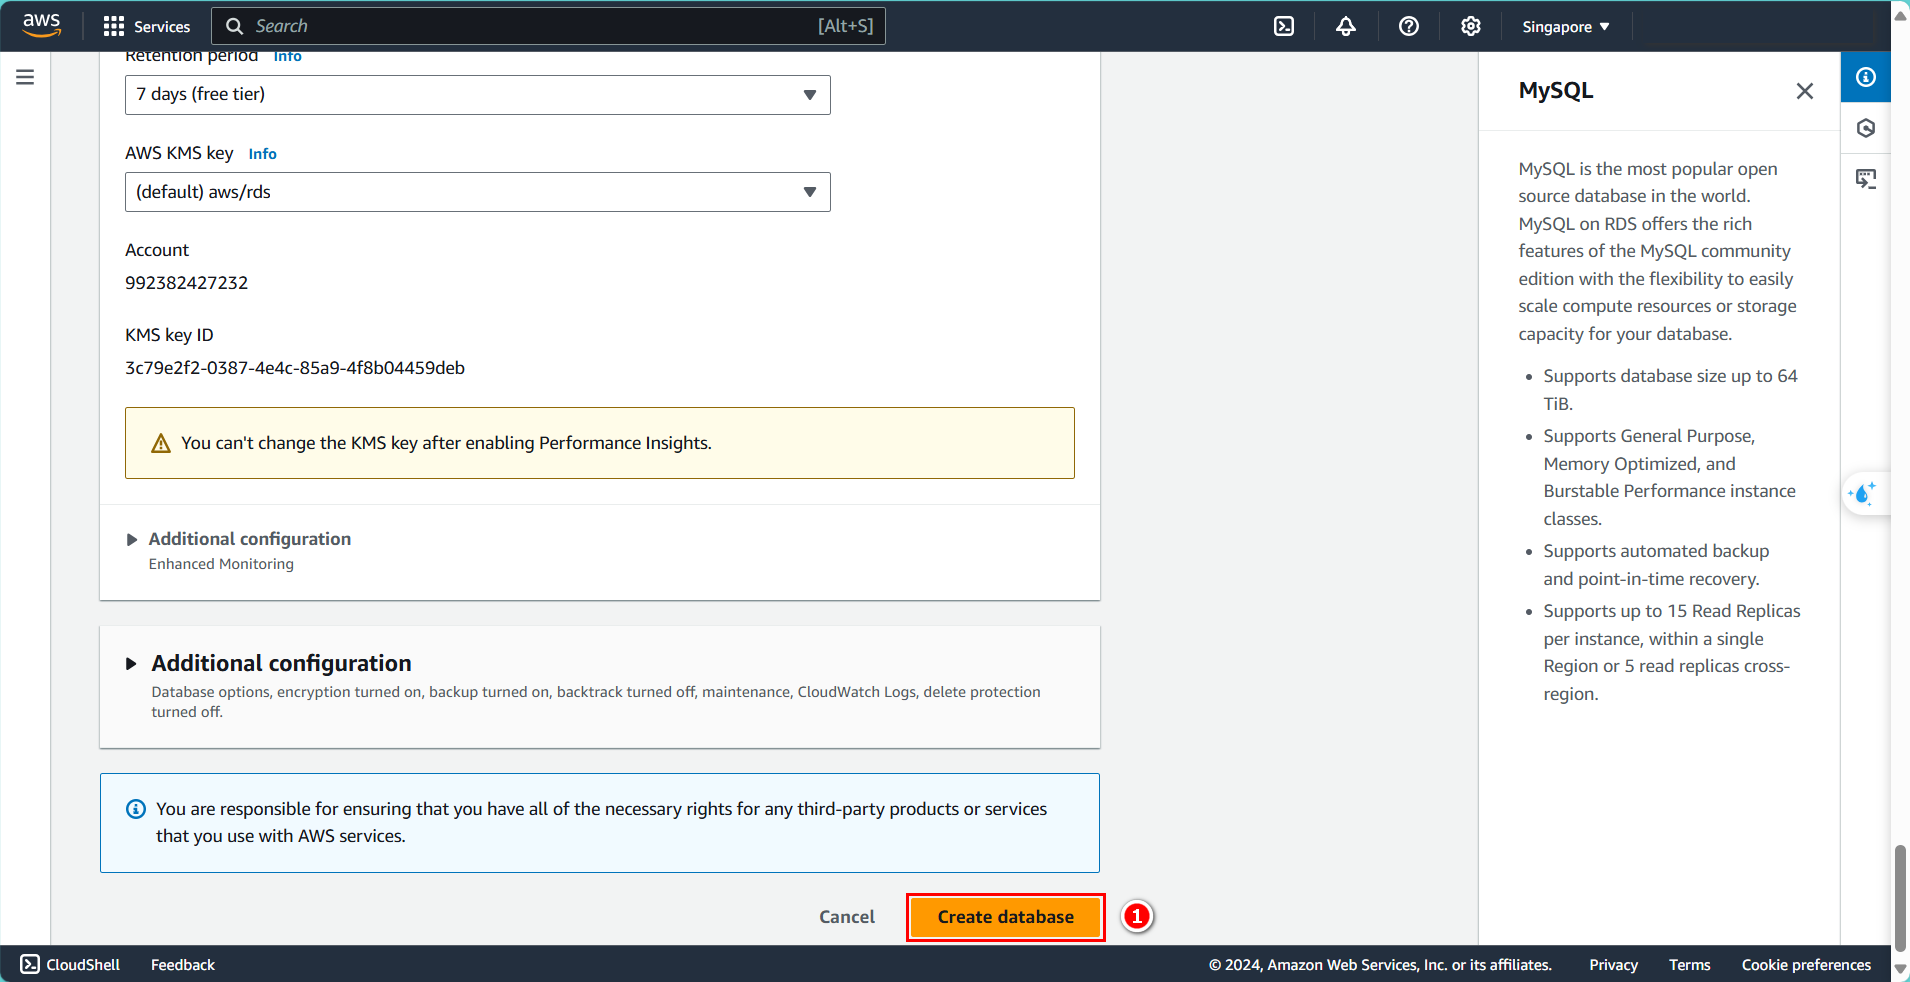
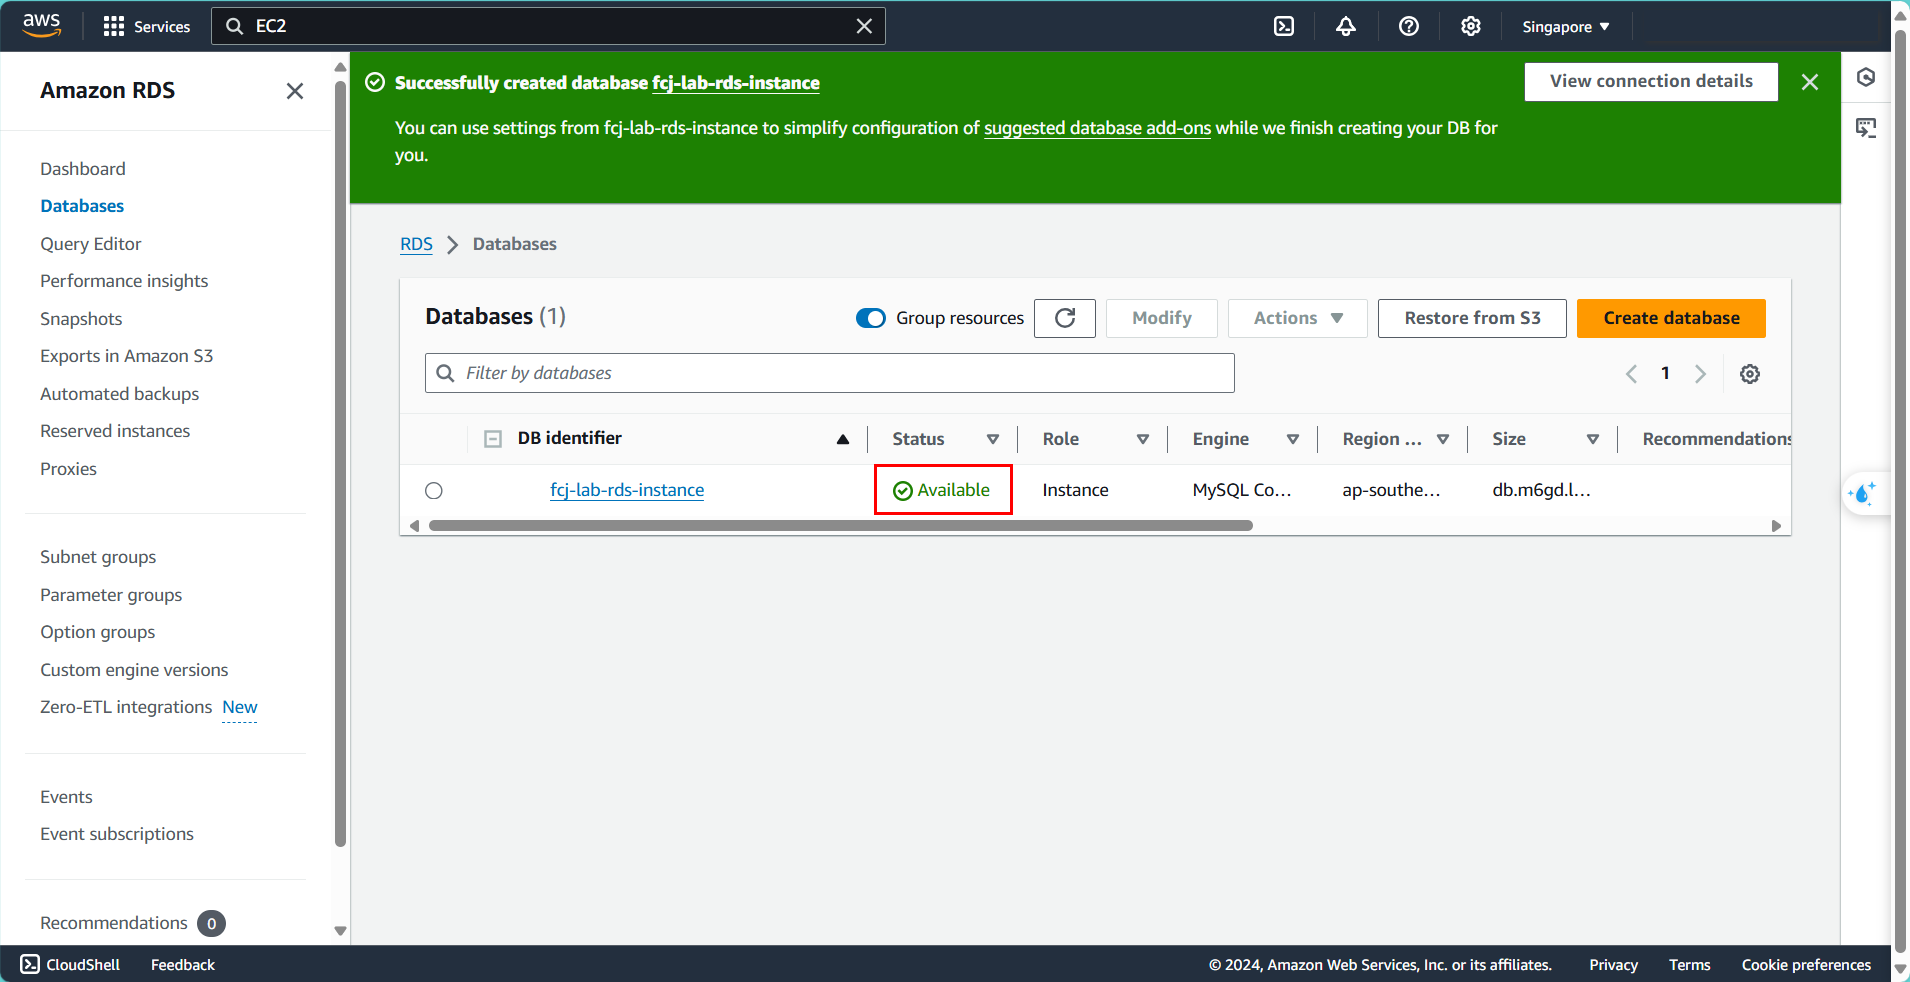
- Complete the creation of the DB instance, it will take about 15 minutes to become Available